

To make that tag , you'll need the material zip here
*It is forbidden to suppress watermarks on the material provided , to alter, mist or rename the tubes in order to respect the work of the tubers
- The nice tube of the woman is by Reveries
- The picture of the child is by Ron Jones
The other material has been found on the web
*******************
Open your Psp, open the tubes, the picture and the masks, duplicate them, close the originals and minimize the copies for now.
Now, we're ready to start !
*****************
1-Open a new white layer of 750 x 550 pixels
2- Layers / convert to raster layer
3- Add a new raster layer and flood fill it with the colour 365667
4- Layers / arrange / send to bottom
Activate the top layer
5-Rasters / new mask layer / from picture / find the mask lace / check source luminance and invert mask data
6-Adjust / sharpness / sharpen more
Layers / Merge Group
7-Open the picture A childprayer and apply the mask 2 jpeg on it ( Rasters / new mask layer / from picture / find the mask 2 jpeg / check source luminance )
Layers / Merge Group
8- Copy that misted picture of the child and paste it as a new layer on your tag
9- Image / resize at 75 % ( resize all layers not checked )
Place the child on the left as shown on my tag
Change the blend mode to Mulitply
10- Open the tube of the woman, copy it and paste it as a new layer on your tag
Place it opposite the child as shown on my tag
11- Open the tube of the teddybears (diversec0233 ) copy it and paste it as a new layer
Place it on the left, underneath the child, as shown on my tag
Change the blending mode to Soft Light
12-Make sure everything is at the right place and Merge all
Image / resize at 75 % ( all layers checked )
Adjust / sharpness / sharpen
13-Open a new transparent image of 800 x 600 pixels
Flood fill it with a quite dark colour (I chose 21333d)
14-Add a new layer
Flood fill it with white
15-Rasters / new mask layer / from picture / find the mask 126 bynb2007 (fancy frame ) /
check source luminance and invert mask data
Adjust / sharpness / sharpen more
Layers / Merge Group
16- Layers / Merge Visible
17-Select the inner white part of the fancy frame with your magic wand set as below :

Hit delete to suppress the inner white part of your selection
18- Selections / modify / expand of 5 pixels ...and keep the selection active !
19- Go back to the previous tag (with the child and the woman ),
copy it and paste it as a new layer on the new tag with the fancy frame
With the move tool , place the new layer so the child and the woman are positioned in the middle of your fancy frame
20- Selections / invert
Hit delete to suppress the parts which are outside the selection
Select none and merge all
21- Open the tubes "mots", copy them one by one
and paste them as new layers on your tag;
place them to your liking
Instead of using my tubes you can write your own words with different fonts
and change the blending modes to your liking
22- Add a new layer and apply your signature
23- Image / add new symmetrical borders of 2 pixels in white
Add new symmetrical borders of 2 pixels in a dark colour ( dark blue here )
Add new symmetrical borders of 2 pixels in white
24- Save as a jpeg file
That's it !! You've done it !
If you 've enjoyed doing my tutorial, it would be nice to write a few words in my guest book ! If you 've had the slightest problem, please, send me a mail so I can see to the problem !
Tutorial translated on the 29th of july 2008
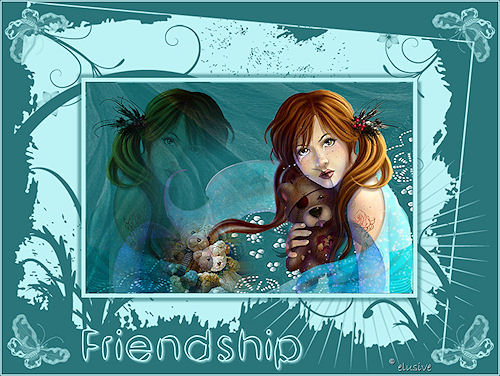
 Thank you Elusive for that lovely version of that tag
(made with one of Claire's masks)
**************
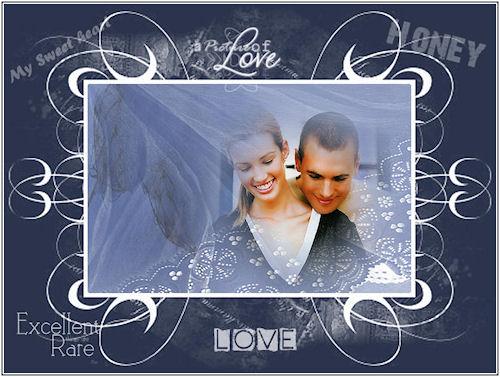
 Thank you Janella for your lovely version
***********
Thank you Sherri for your sweet realization

************
 Thank you Pam for that sweet interpretation

***************