
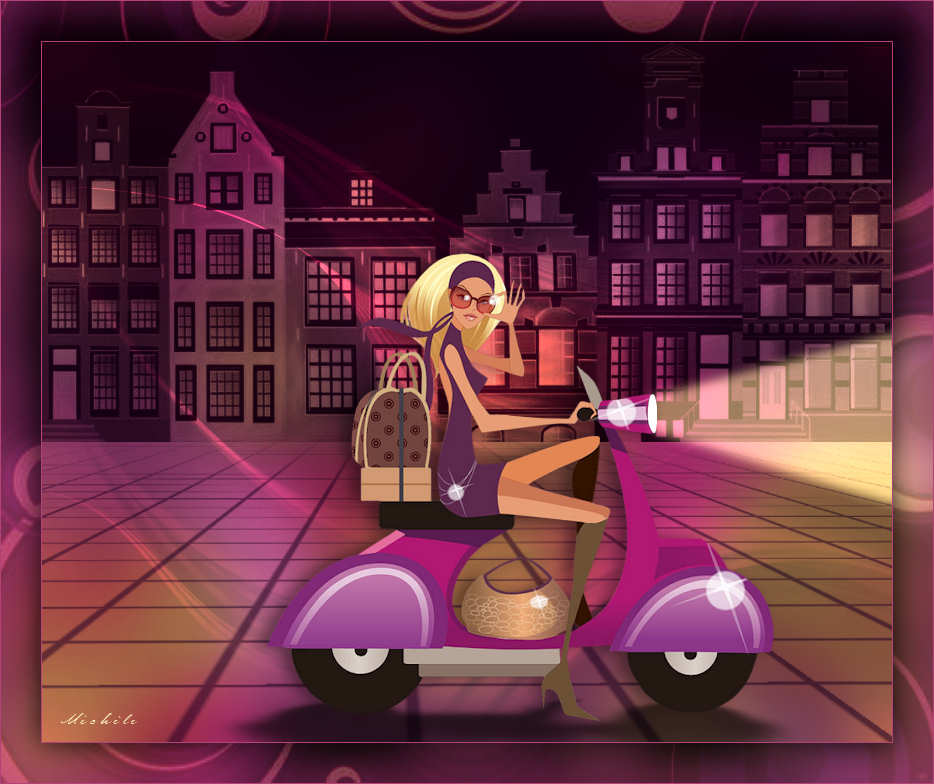
Thank you for putting a link to this tutorial, whenever you display your realization of that tag on a website, on a group or in a mail !
**************************
You'll find some versions of that tag in my gallery HERE
************************
To realize that tag, you'll need the plugin :
- Alien Skin Eye Candy 5 / Impact
and the material zip down below :

**************
*It is forbidden to suppress watermarks on the material provided , to alter, mist or rename the tubes in order to respect the work of the tubers.
- The image "vector-concentric-circles-wallpapers-19-by-dragonart.jpg" is by DragonArtz Design.
- The tube of the woman is by Mtfp.
Thank you dear friedn to give me permission to use your beautiful tubes.
- The mask has been realized by Dansounette.
- The other elements that I haven't created, have been found on the net.
******************
Preparation
To be on the safe side, duplicate your tubes and image in your Psp :
-
Window / Duplicate
- Close the originals and work with the copies !
- Place the mask "sg_perspective-flooring-2.PspMask" in the mask folder of your Psp files.
*****************
Click here to print the tutorial
**********************
You can use my arrow to follow your work
Click on it and drag it all along the tutorial !

***************
Tutorial realized with PSP XIII

Step 1 : The background of the tag
1 - Open a new transparent image of 850 by 700 pixels.
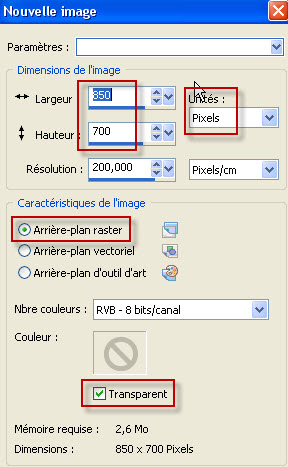
2 - Set your Material palette with two colours of your choice.
- My choice : Foreground : colour 5d294d
- Background : Dark colour 18011b
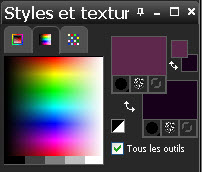
3 - Flood fill your new transparent image with your foreground colour.
4- ADD A NEW RASTER LAYER.
- Selections / select all.
5- Open the main tube "mtfp_397_vector.pspimage" or a tube of your choice (that has a quite big size) and copy it.
6- Paste it INTO THE SELECTION. Deselect all.
7- Effects / image effects / seamless tiling default.
8- Layers / Merge all.
9- Adjust / Blur / Gaussian blur at 40.

Step 2 : The buildings
1- Ouvrir une nouvelle image transparente de 850 par 400 pixels.
2- Flood fill that new image with your background colour which is very dark.
3- Open the mask " Masque_Immeuble_Dansounette.jpg" in your Psp.
- Layers / New mask layer / from image / choose the mask mentionned just before and set as below :

- Layers / Merge group.
4- Copy that merged layer.
5- Paste it as a new layer on to the tag you started making at step 1. (Don't move that layer !)
6- Effects / Image effects / offset as below :

7- I have set the mode of that layer on to Hard light . It is up to you to see which mode looks better with your colours.

Step 3 : The ground
1- ADD A NEW RASTER LAYER.
2- Flood fill that new layer with your background colour ( or your foreground colour if you prefer !).
3- Layers / Load Mask from Disk / choose the mask "SG-perspective_flooring 2" and set as below :
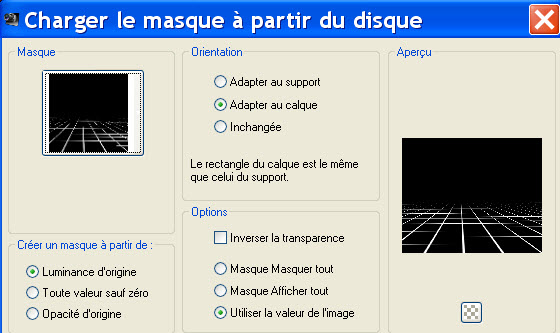
4- Layers / Merge group.
- I have lowered the opacity of that layer to 55. You may change mode if you wish.
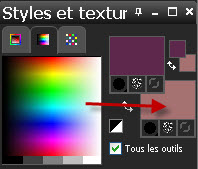
5- Set your Material palette with a new background colour that you will use to add some light effects on your buildings.
- I have chosen (after many tries !) the colour a67171 which is not too dark, nor too light !!
6- ADD A NEW RASTER LAYER.
7- Flood fill your new layer with your background colour ( Right click).
8- Open the mask "1.jpg" in your Psp.
9- Layers / New mask layer / from image / choose the mask mentionned just before and set as below :

- Layers / Merge group.
10- I have set the mode of that layer on to Dodge . It is up to you to see which mode gives a nice brightful result (not too brightful though !!)
- You may duplicate that layer and lower the opacity of that duplicated layer if you wish. (I have duplicated the layer and lowered the opacity of my duplicated layer to 50)
- That copy won't be seen on my shot down below !
11- Activate the layer at the bottom of the pile as shown below :
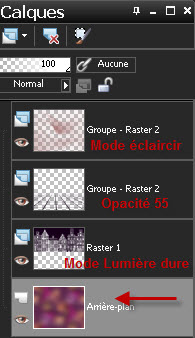
- ADD A NEW RASTER LAYER.
12- Activate your airbrush tool set as below :


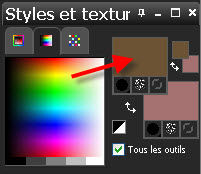
13- In your Material palette, choose another foreground colour. That colour will be used to apply shadows on the ground.
- Here is my choice : 6c5335 :
14- Apply the airbrush tool on the ground as shown below or to your liking.
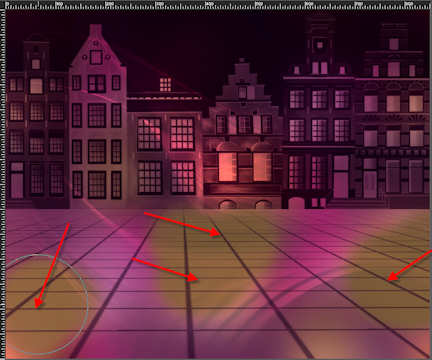
15- Adjust / Blur / Gaussian blur at 40.
16- I have set the mode of my layer on to Darken. It is up to you to choose the mode that gives you the best effect.

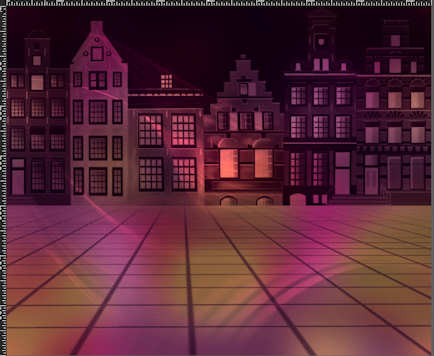

Step 4 : The main tube
1- Open the tube "mtfp_397_vector.pspimage" or a tube of your choice and copy it.
2- Activate the layer on top of the pile.
- Paste your tube as a new layer on to your tag.
3- I have resized my tube at 75 % (resize all the layers NOT checked).
4 - I have placed my tube that way :
- Effects / Image effects / offset as below :
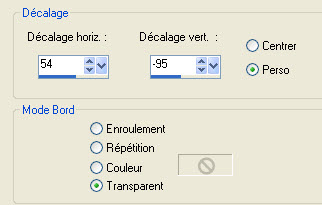
5- Effects / Alien Skin Eye Candy 5 / Impact / Perspective shadow / Onglet Settings : Reflect in front - above and close
Then : basic tab as below :

6- Effects / 3d effects / drop shadow of your choice / 0, - 10, 40, 20, black, for me.

Step 5 : The light ray
1- With your freehand selection tool, set as below : draw a light ray as shown below :

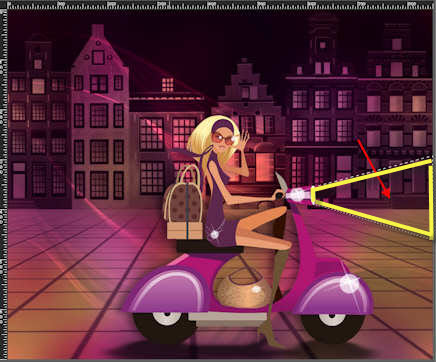
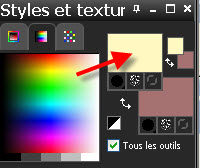
2- In your Material palette, choose another foreground colour. That colour will be used for the light ray.
- My choice : fff9c1
3- ADD A NEW RASTER LAYER.
- Flood fill the selection, on that new layer, with your new foreground colour.
- Deselect all.
4- Adjust / Blur / Gaussian blur at 5.
5- I have set the mode of that layer on to Dodge and lowered its opacity at 55.
- I have duplicated the layer and set it on to Hard light and lowered its opacity at 52.
- It is up to you to play with the modes and opacities of those two layers to get a nice effect.
- Here is what I have in my layers palette :


Step 6 : The borders
1- Make sure everything is at the right place.
- Image / add some symmetrical borders of 1 pixel with a colour of your choice :
- My choice below :
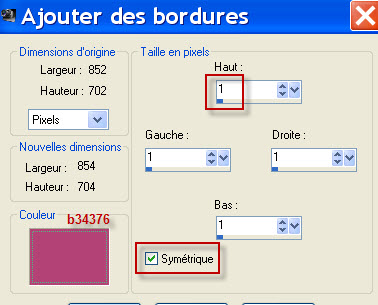
2- Copy your tag.
3- Layers / Promote background layer.
4- Image / Canvas size as below :
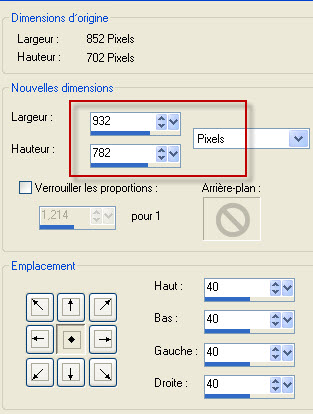
5- ADD A NEW RASTER LAYER.
- Select all.
- Layers / Arrange / Move down.
6- Paste the copy of your tag INTO THE SELECTION. Deselect all.
7- Adjust / Blur / Gaussian blur at 20.
8- ADD A NEW RASTER LAYER.
- Select all.
9- Open the image "vector-concentric-circles-wallpapers-19-by-dragonart.jpg" or a background of your choice, matching your tag and copy it.
10- Paste it INTO THE SELECTION. Deselect all.
11- I have set the mode of that layer on to Hard light and lowered its opacity at 35.
- It is up to you to see which mode and opacity give a better effect with your colours !
12- Activate the top layer ( your tag).
- Effects / 3d effects / drop shadow / 0, 0, 80, 40, black.
13- Apply your signature.
14- Image / add some symmetrical borders of 1 pixel as previously:
15 - Save your work as a jpeg file.
***************
That's it !! You've done it !!
If you 've enjoyed doing my tutorial, it would be nice to write a few words in my guest book !
If you 've had the slightest problem, please, send me a mail so I can see to the problem.
Tutorial translated on the 10th of november 2012
*************
You'll find some versions of that tag in my gallery HERE
