
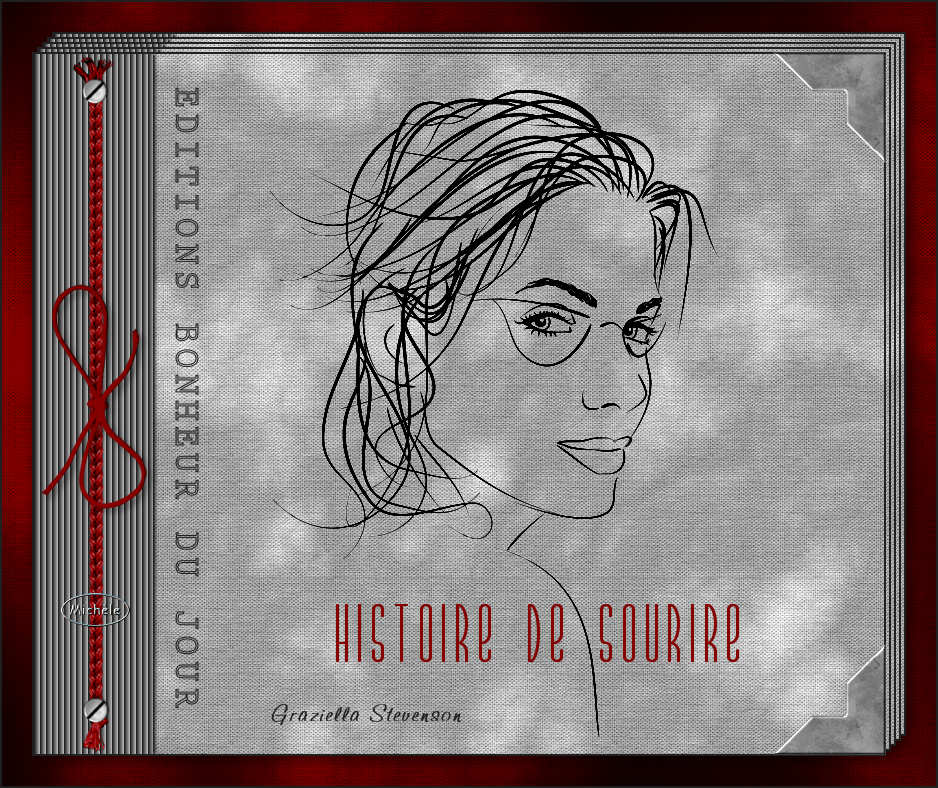
Thank you for putting a link to this tutorial, whenever you display your realization of that tag on a website, on a group or in a mail !
**************************
You'll find some versions of that tag in my gallery HERE
************************
To realize that tag, you'll need the plugins :
- Filters Unlimited 2.0 / Paper textures.
- Graphic plus / Cross shadow.
and the material zip down below :

**************
*It is forbidden to suppress watermarks on the material provided , to alter, mist or rename the tubes in order to respect the work of the tubers.
- The tube of the woman is by Sabine
- The other elements that I haven't created, have been found on the net.
******************
Preparation
To be on the safe side, duplicate your tubes and image in your Psp :
-
Window / Duplicate
- Close the originals and work with the copies !
- Place the selection in the selection folder of your Psp files.
*****************
Click here to print the tutorial
**********************
You can use my arrow to follow your work
Click on it and drag it all along the tutorial !

***************
Tutorial realized with PSP XIII

Step 1 : The background of the tag
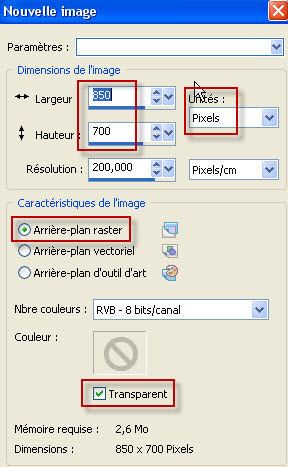
1 - Open a new transparent image of 850 by 700 pixels.
2 - Set your Material palette with two colours out of your main tube.
- My choice : Foreground : Light colour bcbcbc
- Background : Dark colour 202020
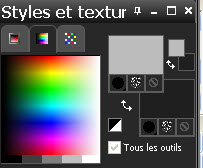
3 - Flood fill your new transparent image with your foreground light colour.
4- Open my layer "Fairymist_renno_bg" and copy it.
5- Paste it as a new layer on to your tag.
- I have set the mode of that layer on to Luminance Legacy.
6- Effects / Plugins / Filters Unlimited 2.0 / Paper textures / Canvas fine / 187, 87.
7- ADD A NEW RASTER LAYER.
8- Selections / Load a selection / from disk / Choose "fairymist_renno" and set as below :
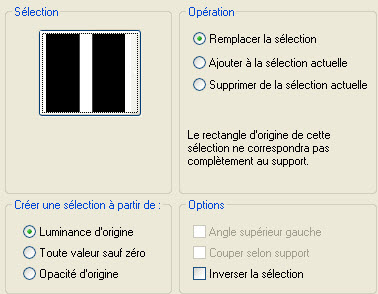
9- Flood fill that selection with your dark background colour (Right click).
10- Effects / Texture effects / Blinds as below :

- I have used the colour b2b2b2.
11- Effects / 3d effects / Drop shadow / 0, 2, 100, 5, black.
- Selections / Deselect all.

Step 2 : The cover
1- Open the tube " cordelette.pspimage" or a tube of your choice and copy it.
2- Paste it as a new layer on to your tag.
3- Effects / Image effects / Offset as below :
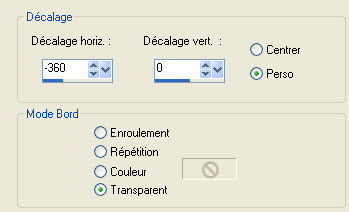
4- Open the tube " screw.pspimage"or a tube of your choice and copy it.
5- Paste it as a new layer on to your tag.
6- Place it as on my tag (At one end of the small cord).
7- Layers / Duplicate.
- Place it as on my tag (at the other end of the small cord!).
8- Set your Material palette as below :
- (Colours inverted / Background closed)
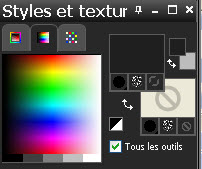
9- Activate your text tool and set as below :

- Write the name of the editor in capital letters ( EDITIONS BONHEUR DU JOUR for me !).
10- Image / free rotation as below :

11- Place the text as on my tag.
12- Open the tube "graphsabine_design195.pspimage" or a tube of your choice and copy it.
13- Paste it as a new layer on to your tag.
14- Effects / Image effects / Offset as below :
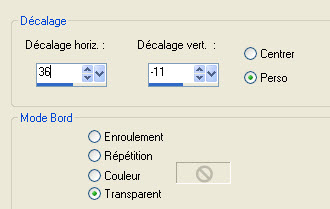
15- Set your Material palette as below :
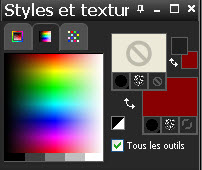
- I have set my background with red 870000. It is up to you to choose a colour that goes nicely with your other colours.
16 - With your text tool, set as below , write down (in capital letters for me) the title of the book.

- Place that title like me or to your liking.
17- Effects / 3d effects / drop shadow / 0, 0, 40, 1, black.
18- Set your Material palette as below :
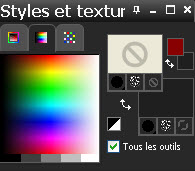
19- With your text tool, set as below , write down the name of the author of the book.

- Place like me or to your liking.

Step 3 : The edge of the book.
1- Image / add some symmetrical borders of 2 pixels with your dark background colour :
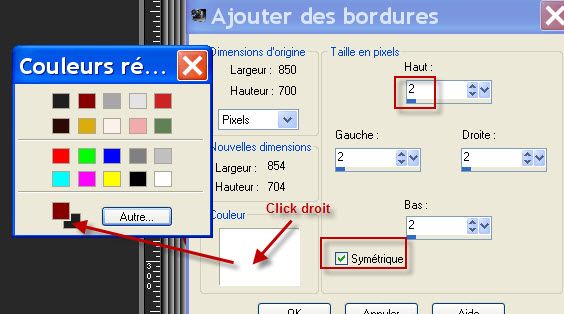
2- Layers / Promote background layer.
3- Image / Canvas size as below :
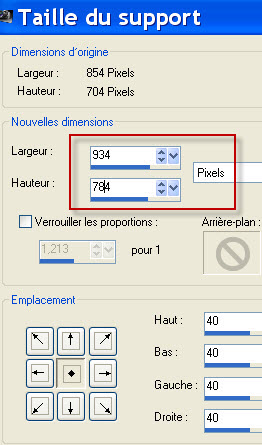
4- Layers / Duplicate.
5- In your layers palette, activate the layer at the bottom of the pile (raster 1).
- Effects / Image effects / Offset as below :
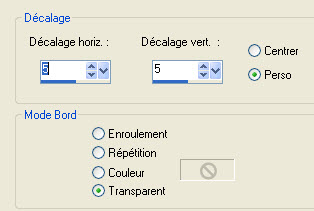
6- Layers / Duplicate.
7- Activate, once more, the layer at the bottom of the pile (raster 1).
- Effects / Image effects / Offset as previously.
8- Layers / Duplicate.
9- Activate, once more, the layer at the bottom of the pile (raster 1).
- Effects / Image effects / Offset as previously :
10- Layers / Duplicate.
11- Activate, once more, the layer at the bottom of the pile (raster 1).
- Effects / Image effects / Offset as previously :
- You now have 5 layers :
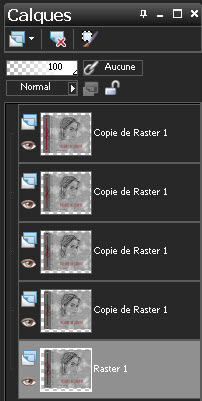
12- Layers / Merge visible.
13- Copy that merged layer and paste it as a new layer on to your tag. Delete the layer which is underneath (It isn't well centered!)
14- Effects / 3d effects / drop shadow / 4, 4, 60, 20, black.
15 - Open the tube"corner.pspimage" and copy it.
- Paste it as a new layer on to your tag and place it in the top right hand side corner of the cover of the book.
- The tube mode is on Luminance legacy.
16- Layers / Duplicate.
17- Image / Flip.
- Place that second tube in the bottom right hand side corner of the cover of the book.
18- Apply your signature if you wish.

Step 4 : The borders
1- ADD A NEW RASTER LAYER.
2- Layers / Arrange / Send to bottom.
3- Flood fill that new layer with the third colour you have used (red 870000 for me)
4- ADD A NEW RASTER LAYER.
5- Select all.
- Open the image "Fairymist_renno_bg" and copy it once more.
6- Paste it INTO THE SELECTION of your tag. Deselect all.
7- Set the mode of that layer on to Multiply or on any other mode that suits you better.
8- Effects / plugins / Filters Unlimited 2.0 / Paper textures / Canvas fine / 187, 87.
9- Effects / plugins / Graphic plus / Cross shadow default.
10- Image / add some symmetrical borders of 2 pixels with your dark background colour.
11 - Save your work as a jpeg file.
***************
That's it !! You've done it !!
If you 've enjoyed doing my tutorial, it would be nice to write a few words in my guest book !
If you 've had the slightest problem, please, send me a mail so I can see to the problem.
Tutorial translated on the 27th of October 2012
*************
You'll find some versions of that tag in my gallery HERE
