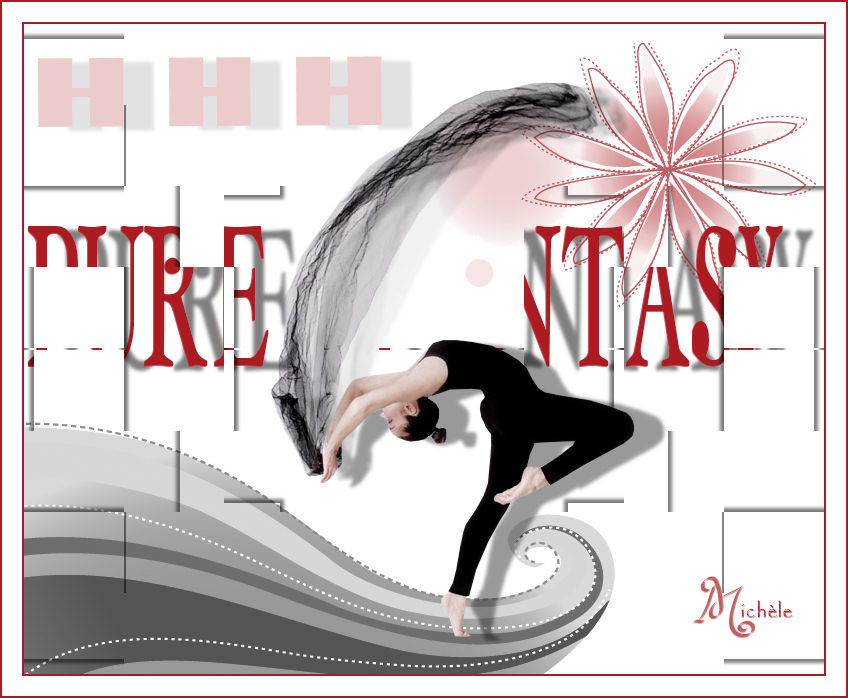
Thank you for putting a link to this tutorial, whenever you display your realization of that tag on a website, on a group or in a mail ! ************************** You'll find some versions of that tag in my gallery HERE ****************** To make that tag, you'll need the filters VM distortion and Simple and the material zip down below : *********************** *It is forbidden to suppress watermarks on the material provided , to alter, mist or rename the tubes in order to respect the work of the tubers - Thanks to Brigitte for letting me provide her beautiful tube for this tutorial. You can get more of her tubes in her group here The brushes I have used are from Coby17 **************** Preparation Open your Psp. Open the tube, duplicate it, close the original and minimize the copy for now. Export your brushes in psp as custom brushes Now, we're ready to start ! ******************** 1- Open a new transparent canvas of 800 by 650 pixels 2- Floodfill that canvas with white or with a light colour out of your tube 3- Image / duplicate Image / resize by 75 % 4-Effects / 3d effects / drop shadow / 4, 4, 50, 5, black Do it again with - 4 in horiz and vert 5- Effects / plugins / VM distortion / Tiles à gogo default 6- Effects / plugins / Simple / Top left mirror 7- Activate the bottom layer ( raster 1) Add a new layer Set your background with the red colour or a contrasting color of your tube ) I've used the colour ad1824. Close your foreground 8- With your text tool set as shown below, write your text (Here : PURE FANTASY ) with the fonts 2 Peas RF sackopotatoes regular / size 200
Place the text as shown on my tag I have chosen to put the text underneath the copy of raster 1 but if you prefer to see all the text you can place it on top of it ! 9-Effects / 3d effects / drop shadow/ 4, 30, 40, 4, black 10- Activate the top layer Add a new layer Set your foreground with the black colour 11- With your brush tool, set as shown below, apply Sweet Brushes by Coby 17 _ 53
Place it, at the bottom, on the left handside of your tag 12- Add a new layer Set your foreground with the colour chosen on point 7 (here : ad1824) With your brush tool, set as shown below, apply Swirl brushes by Coby17_55 (place your brush in the top right quarter of your tag) Place the brush as shown on my tag or to your liking With your eraser tool, suppress the parts of that brush that you don't want to keep 13- Keep the previous colour in your foreground Take you pen tool, set as shown below
Now you're ready to use your pen Hold that key, Layers / convert to raster layer With your eraser tool , erase the parts of that line that you don't want to keep (I only kept 3 elements ) 14- Place these elements at the right place Effects / 3d effects / drop shadow/ 4, 30, 40, 4, black 15- Lower the opacity of your layer between 20 and 25 16- Open the tube you've chosen, copy it and paste it as a new layer (resize it if necessary) Place the tube as shown on my tag 17- Effects / 3d effects / drop shadow// 4, 30, 40, 4, black 18- Add a new layer and apply your signature 19- Image / add new symmetrical borders of 1 pixel with the colour chosen at point 7 ( here : red ) 20- Image / add new symmetrical borders of 5 to 10 pixels with a light colour ( here : white) 21- Image / add new symmetrical borders of 1 pixel with the colour chosen at point 19 22- Save your tag as a jpeg file *************** That's it !! You've done it ! If you 've enjoyed doing my tutorial, it would be nice to write a few words in my guest book ! If you 've had the slightest problem, please, send me a mail so I can see to the problem ! Tutorial translated on the 25th of january 2009 **************** Thank you Elusive for checking my translation ******************* You'll find some versions of that tag in my gallery HERE
|


