Thank you for putting a link to this tutorial, whenever you display your realization of that tag on a website, on a group or in a mail !
**************************
You'll find some versions of that tag in my gallery HERE
*********************
To realize that tag, you'll need the plugins
- Alien skin Eye Candy 5 / Impact et Nature
and the material zip down below :

**************
*It is forbidden to suppress watermarks on the material provided , to alter, mist or rename the tubes in order to respect the work of the tubers
- The tube of the woman is by Lori Rhae
- The picture I have used is a background by JHanna
You may join in their sharing group here
- The tube of the cauldron is an element of the kit Little witch by Tamie
The other elements have been found on the net
******************
Preparation
- Duplicate your tubes and image. Close the originals and minimize the copies for now.
- Place your selections in your selection folder
- Place the mask 2020 in your masks folder
*****************
Click here to print the tutorial
*******************
You can use my arrow to follow your work

***************
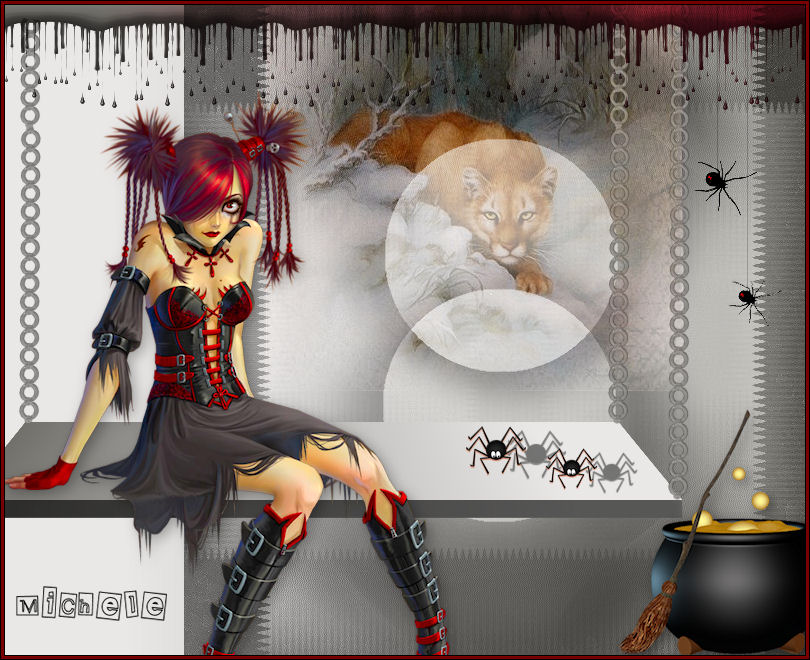
1- Open a new transparent image of 800 by 650 pixels
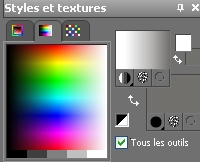
2- Set your colour palette with two colours matching your main tube
My choice : Foreground : light colour e9e8e7 
Background : dark colour 72716c 
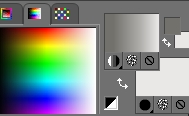
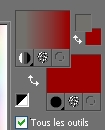
Set your foreground with a linear gradient as below :
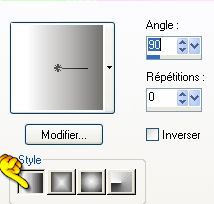
3- Flood fill your transparent image with that gradient
4- Add a new raster layer and select all
Open the image JHanna-245background, copy it and paste it into the selection
Select none
5- Set the mode of that layer to Luminance Legacy and lower its opacity to 65
6- Image / free rotation / 90°/ left
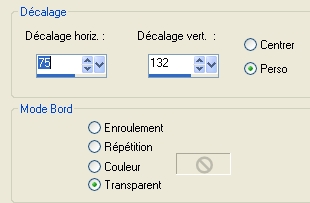
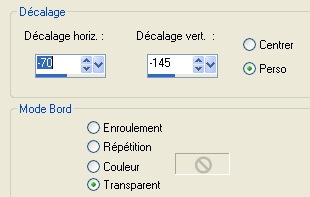
7- Effects / image effects / Offset as below
8- Open the image Kayomi-12 or a picture of your choice
Layers / load a mask from disk / choose 2020msk and set as below

Layers / Merge group
9- Copy that misted image and paste it as a new layer on to your tag
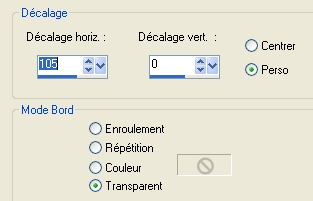
10- Effects / image effects / Offset as below
11- Set the mode of that layer to Overlay
12- Add a new raster layer
Selections / load from disk / choose "selection_petite_sorciere_fairymist" / check Source Luminance and Replace the selection
13- In your colour palette , invert your colours
Flood fill the selection with your new gradient
Select none
14- Activate the Deform tool ( letter D)
Keep the shift key pressed while you drag your bottom left hand side corner towards the left; do the same thing for your bottom right hand side corner, like shown below :

If you don't manage to get the same shape as me, you can use my file "tablette" included in the zip and paste it as a new layer !
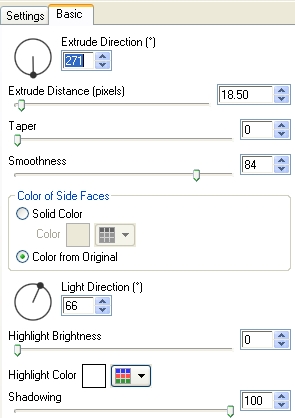
15- Effects / plugins / Alien skin Eye candy 5 / Impact / Extrude as below
16- Effects /image effects / Offset as below
18- Open the tube "chaine", copy it and paste it as a new layer
Place the chain on one of the 3 visible extremities of the swing
19- Layers / duplicate / twice
Place the other two chains at the right place, as shown on my tag
20- Layers / merge down / twice ( the 3 chains will then be on the same layer ! )
21- Set the mode of that layer to Luminance Legacy
22- Open the tube of the woman "Image16Little Ms Tough" or a tube of your choice, copy it and paste it as a new layer
I have resized that tube at 75 %
Place the tube as shown on my tag
23- Effects / 3d effects / drop shadow / 0, 0, 30, 10, black or a drop shadow of your choice
24- Add a new raster layer
Selections / load from disk / choose "selection_petite_sorciere_2_fairymist" / check Source Luminance and Replace the selection
25- Set your colour palette as below
Foreground : your dark colour
Background : For me : red 9a0000 
Same gradient as on step 2
26- Flood fill your selection with that gradient
27- Keep the selection
Effects /3d effects / Inner bevel as below

Select none
With your deform tool , strech that band horizontally in order to get rid of the bevel at both ends !
28- Effects / plugins / Alien skin Eye candy 5 / Nature / Drip : Use the effect of your choice !!
If you have a problem with that filter, you may use my drip file enclosed in my zip, copy it and paste it as a new layer and place it on the top of your tag
I have set the mode of that layer to Multiply but you can choose another mode !
29- Open the tubes of the spiders or tubes of your choice , copy them and paste them as new layers
Place them to your liking
30- Open the tube of the cauldron or a tube of your choice, copy it and paste it as a new layer
I have resized the tube at 60%
Place it at the right place
31- Effects /3d effects / drop shadow / 0, 0, 30, 10, black
32- Add a new raster layer and apply your signature
33- It is up to you now , to create a simple frame round your tag
( For me : borders of 1 pixel in black , then 2 pixels in red , and 1 pixel in black )
34- Save your work as a jpeg file and resize the tag if necessary
***************
That's it !! You've done it !!
If you 've enjoyed doing my tutorial, it would be nice to write a few words in my guest book !
If you 've had the slightest problem, please, send me a mail so I can see to the problem !
Tutorial translated on the 23rd of January 2010
***********
You'll find some versions of that tag in my gallery HERE