
Thank you for putting a link to this tutorial, whenever you display your realization of that tag on a website, on a group or in a mail !
**************************
You'll find some versions of that tag in my gallery HERE
***************
To realize that tag, you'll need the material zip down below :

********************
*It is forbidden to suppress watermarks on the material provided , to alter, mist or rename the tubes in order to respect the work of the tubers
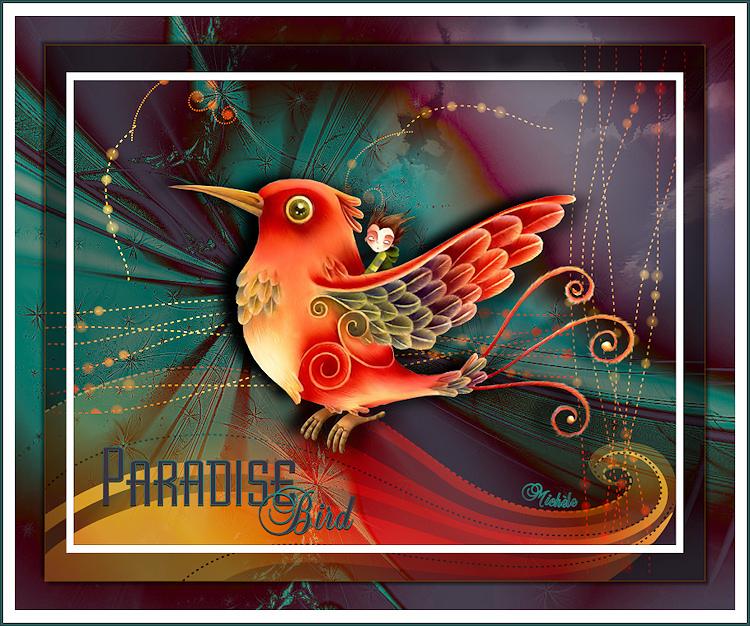
- The tube of the bird is by Pita Guismo
You can find her tubes on Dakara's site here or in her sharing group here
**************
Preparation
Duplicate your tubes and image, close the originals and minimize the copies for now. Export your brushes in your psp as custom brushes
********************
Click here to print the tutorial
*******************
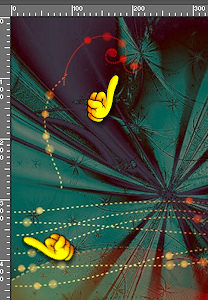
You can use my arrow to follow your work

****************
1- Open the background picture "image de fond" , we're going to work on it but before that make a copy of it and minimize it for the moment, we'll use it on line 23 !
2- Add a new raster layer and set your colour palette as below :
Foreground : fddb94 
Background : e45139 
Set your foreground with a linear gradient , angle 45, repeats 3, Invert checked
3- Appy the brush Sweet Brushes by Coby 17- 53 in the middle of your tag

Move your brush in the left hand corner as below and set the mode of that layer to Hard light !

4- Add a new raster layer
Apply the brush Sweet Brushes by Coby, 17- 49, in the middle of your tag, keep the original size
5- Image / mirror and then Image / flip
Move that brush slightly on the right as below

6- Set the mode of that layer to Hard light
7- Layers / duplicate
Image / free rotation / 90° left ( don't check any of the squares below)
Image / flip
Place your layer as below
8- Layers / duplicate
9- Layers / merge all
10- Open the tube calguisredbird, copy it and paste it as a new layer
Resize at 75 %. Adjust / sharpness / sharpen
Place the bird as on my tag
11- Effects /3d effects /drop shadow / - 4, - 20, 50, 20, black
12 - Add a new raster layer and set your colour palette as below
Foreground : 218f83 
Background : 3c3341 
Set your foreground with a linear gradient , angle 45, repeats 1, Invert checked
13- With your text tool set as below, write the word Paradise with the fonts Destijl

14- Effects /3d effects / drop shadow / 1, 1, 70, 1, black
15- Add a new raster layer
With your text tool set as before , write the word Bird with the fonts Balmoral D, same size
16- Drop shadow as on line 14
Place the two layers with your text as on my tag ( but don't put them too low as they will be cut by your border later on !! )
17- Add a new raster layer and apply your signature
18- Image / add some symmetrical borders of 1 pixel in yellow: d4952a
19- Image / add some symmetrical borders of 50 pixels in white
20- Layers / promote background
21- With your wand tool set as below, select your white border

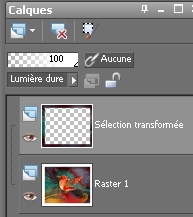
22- Clic right on your layer raster 1, in you layer palette/ change the selection into a layer
23- Activate the picture "image de fond" that you had put on the side on line 1
Copy it and paste it into the selection
Set the mode of that layer to Hard light
24- Merge all but keep the selection !
25- Selections / invert
Effects /3d effects / drop shadow / 4, 4, 50, 5, black and the same with - 4 vert and horiz
Select none
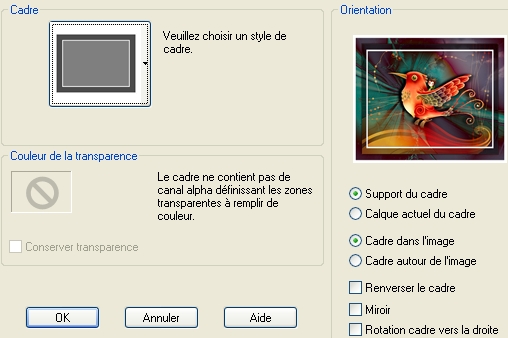
26- Image / picture frame / choose transparent frame 02 from your Corel
27- Image / add some symmetrical borders of 1 pixel with your dark colour 218f83
28- Save your work as a jpeg file
******************
That's it !! You've done it !!
If you 've enjoyed doing my tutorial, it would be nice to write a few words in my guest book !
If you 've had the slightest problem, please, send me a mail so I can see to the problem !
Tutorial translated on the 6th of may 2009
********************
You'll find some versions of that tag in my gallery HERE

|