Thank you for putting a link to this tutorial, whenever you display your realization of that tag on a website, on a group or in a mail !
**************************
You'll find some versions of that tag in my gallery HERE
***********************
To make that tag, you'll need the plugins :
- Filters Unlimited 2.0
- Photo Aging kit
- VDL Adrenaline / Snowflakes.
and the material zip down below :

**************
*It is forbidden to suppress watermarks on the material provided , to alter, mist or rename the tubes in order to respect the work of the tubers
- The tube of the stone is by Cibi
- The other elements that I haven't created, have been found on the net.
******************
Preparation
To be on the safe side, duplicate your tubes and image in your Psp :
-
Window / Duplicate
- Close the originals and work with the copies !
- Place the selections in the selection folder of your Psp files.
- Open the fonts Snowflakes and Lumos outside your Psp and minimize them. If you have Windows 7, copy these fonts and paste them in the Font folder of Windows).
- Place the texture file in the Texture folder of your Psp files.
*****************
Click here to print the tutorial
**********************
You can use my arrow to follow your work
Click on it and drag it all along the tutorial !

***************
Tutorial made with PSP XIII
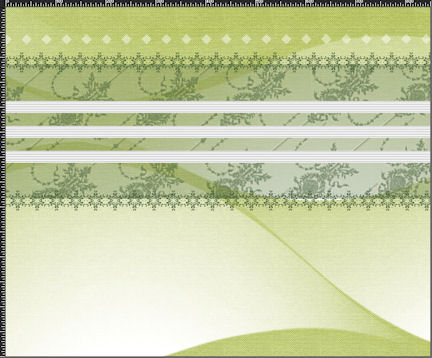
Step 1 : The background of the tag
- If you have decided to use my colours, here is what you can do :
- Open the colour palette "Fairymist_Palette_nouvelan", in your Psp and using your dropper tool, pick out my colours to set your Material palette ( left click for your foreground / right click for your background )

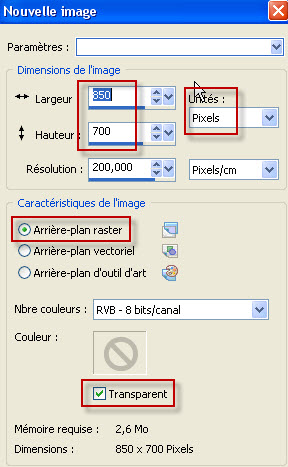
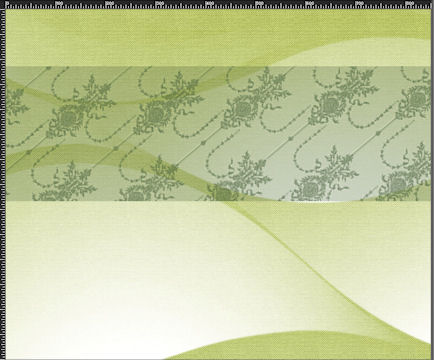
1 - Open a new transparent image of 850 by 700 pixels.
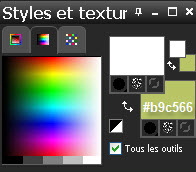
2 - Set your Material palette with two colours of your choice.
- My choice : Foreground : White
- Background : Lime green b9c566
3- Flood fill your new transparent image with your background colour (Right click).
4- Effects / Plugins / Filters Unlimited 2.0 / Paper textures of your choice / Canvas fine, default, 156, 87 for me.
5- ADD A NEW RASTER LAYER.
6- Flood fill that new layer with your foreground colour.
7- Open "mask_voiles" in your Psp.
- Layers / New mask layer / From image / as below :

- Merge group.
Step 2 : The lace
1-ADD A NEW RASTER LAYER.
2- Selections / Load a selection / from disk / Choose "fairymist_nouvel_an_1.PspSelection" and set as below :
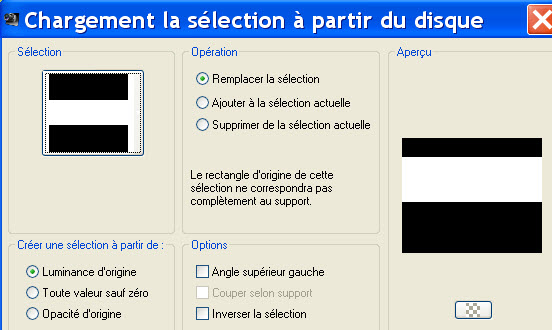
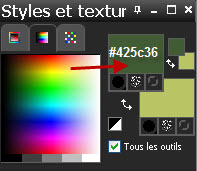
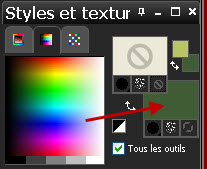
3- Set your Material palette as below :
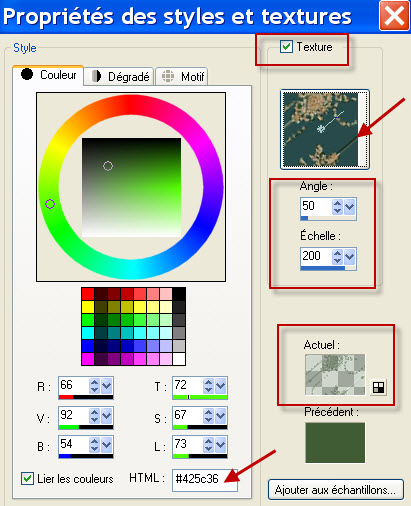
- Set your foreground with a dark colour (I have chosen a dark green 425c36)
- Tick the box Texture and choose the texture "wp_damask_205.jpg".
4- Flood fill the selection, on your new layer, with your foreground texture.
- Selections / deselect all.
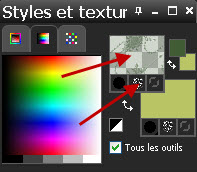
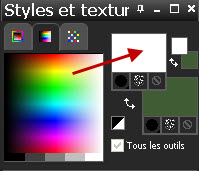
5- Set your Material palette as below :
- Swap your foreground and background colours and shut your foreground as shown below :
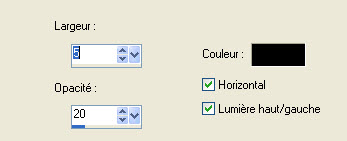
6 - Activate your text tool and set it as below :

- Click on your tag and hit the u key of your keyboard as many times as necessary to get a line of snowflakes all along your tag.
- You may prefer to choose another letter if you wish to use another shape of snowflake.
- Confirm your choice and promote your vectorial layer to a raster layer.
- Place that line of snowflakes as shown on my tag, down below.
7- Layers / Duplicate.
- Place that second line of snowflakes as on my tag.

Step 3 : The decorative bands
1-ADD A NEW RASTER LAYER.
2- Selections / Load a selection / from disk / Choose "fairymist_nouvel_an_2.PspSelection" and set as previously :
3- Set your Material palette as below :
4- Flood fill the selection with your foreground colour.
5- Effects / texture effects / Blinds as below (unless you prefer another effect !):
- Deselect all
6- Layers / Duplicate.
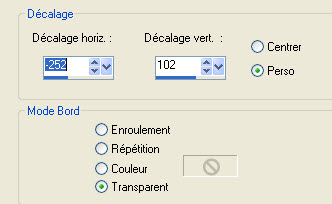
7- Effects / Image effects / Offset as below :
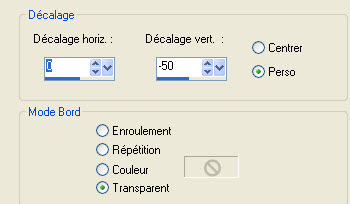
8- Layers / Duplicate.
9- Effects / Image effects / Offset as previously.
- You may lower the opacity of these 3 layers or change the mode of them if you wish. I have left them as they were.
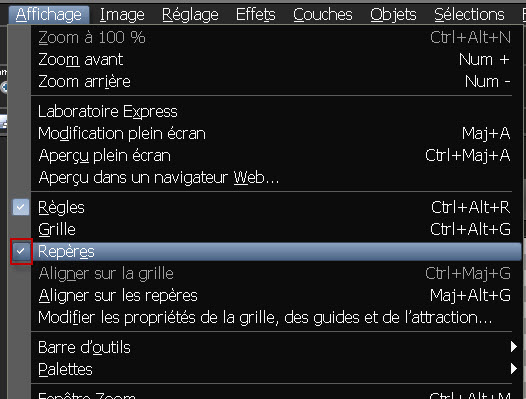
10- We are now going to create a guide line to help you draw a straight horizontal line of diamonds :
- View / click on Guides
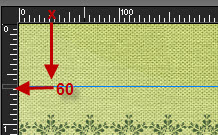
- Click on the top part of your tag, where the ruler is. When you get a small cross, keep holding the left click of your mouse and drag your mouse down until your guide gets to 60 along the vertical ruler, as shown below :
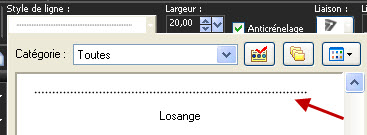
11- Activate the Pen Tool (Letter V) and set it as below :
- Style of line : Diamonds

12- On your tag, click once on the left end of your guide and click a second time on the right end of it (as shown below). You will then get a straight line of diamonds.

- You can get rid of your guide line this way : View / Guides (uncheck).
13- I have lowered the opacity of that layer to 45. It is up to you to see which mode and which opacity are best for you.
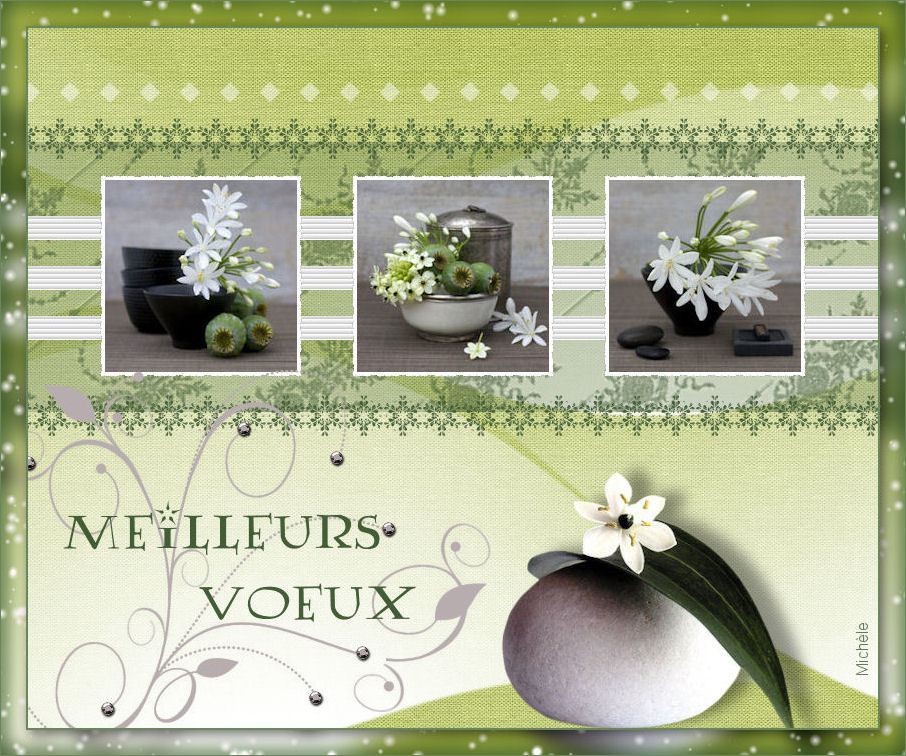
Step 4 : The images
1- Open image 1 or an image of 204 by 204 pixels, in your Psp.
2- If the layer of that image appears, in your Layers Palette, as a background, change it into a raster layer (Layers / Promote Background layer)
3- On that image :
- Effects / Plugins / Filters Unlimited 2.0 / Photo aging kit / Photo Frame 01
4- Activate your magic wand, set as below and click on the outside black edge of your image.

5- Hit the delete key of your keyboard.
- Deselect all.
6- Copy that modified image and paste it as a new layer on to your tag.
7- Effects / Image effects / Offset as below :
8- Repeat steps 1 to 6 with image 2.
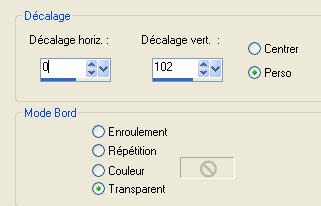
9- Effects / Image effects / Offset as below :
10- Repeat steps 1 to 6 with image 3.
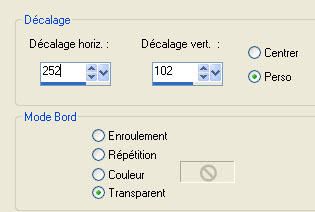
11- Effects / Image effects / Offset as below :
Step 5 : The tubes
1- Open the tube "Zen_Vuillon_CibiBijoux.pspimage" or a tube of your choice and copy it.
2- Paste it as a new layer on to your tag.
- Place it as on my tag.
- I have resized my tube at 90% (Resize all the layers NOT checked).
3- Effects / 3d effects / drop shadow of your choice / - 4, 20, 40, 20, black for me.
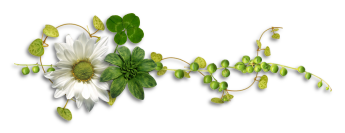
4- Open the tube "volutes.pspimage" or a decorative tube of your choice and copy it.
5- Paste it as a new layer on to your tag.
- Place it as on my tag.
- If you have chosen other tubes and colours as me, you may colorize that fancy tube to match your colours.
Step 6 : The text
1- Set your Material palette as below :

2- Activate your text tool, set as below and write down your text with the font Lumos or a font of your choice.

- I have written the two words "Meilleurs" and "Voeux" on two separate layers so I can place them to my liking.
3- Apply your signature.
Step 7: The borders
1- Image / add some symmetrical borders of 2 pixels with a colour of your choice (green 425c36 for me).
2- Layers / Promote background layer.
- COPY YOUR TAG
3-ADD A NEW RASTER LAYER.
4- Layers / arrange / Move down.
5- Image / Canvas size / as follows :

6- Selections / select all.
7- Paste (the copy of your tag) in that selection. Deselect all.
8- Adjust / Blur / Gaussian blur at 10.
9- Layers / Duplicate.
- Set that layer on the Multiply mode.
10-ADD A NEW RASTER LAYER.
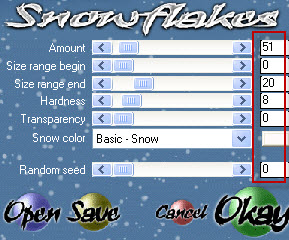
11- Effects / Plugins / VDL Adrenaline / Snowflakes as below :
12- Activate your top layer where the image of your tag is.
- Effects / 3d effects / 4, 4, 60, 20, black.
13- Image / add some symmetrical borders of 1 pixel with a colour of your choice (green 425c36 for me).
14 - Save your work as a jpeg file.
***************
That's it !! You've done it !!
If you 've enjoyed doing my tutorial, it would be nice to write a few words in my guest book ! If you 've had the slightest problem, please, send me a mail so I can see to the problem
Tutorial translated on the 29th of december 2012
*************
You'll find some versions of that tag in my gallery HERE