
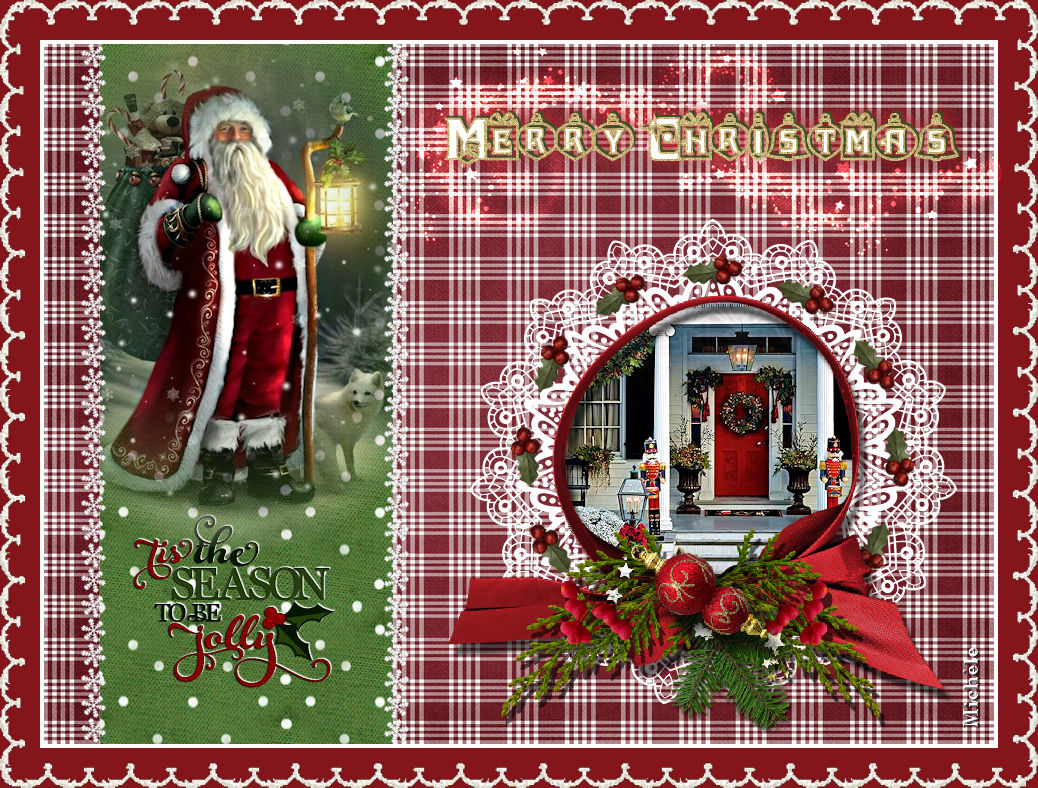
Thank you for putting a link to this tutorial, whenever you display your version of that tag on a website, on a group or in a mail !
**************************
You'll find some versions of that tag in my gallery here :

To make that tag, you'll need the filter :
- Mura's Meister / Copies.
and the material zip down below :

**************
"It is forbidden to suppress watermarks on the material provided, to alter, mist or rename the tubes in order to respect the work of the tubers
- The tube of Father christmas is by Thafs.
-The tube of the scenery is by Mina.
- The tube of the christmas crown is by Sihirperisicom.
-The tube of the holly crown is by Mucki.
- The embroidered frame is by VYP adele.
- The other elements are from the net.
******************
Preparation
To be on the safe side, duplicate your tubes and images in your Psp :
-
Window / Duplicate
- Close the originals and work with the copies !
- Place the selections in the selection folder of your PSP file.
- Place the gold tile in the pattern folder of your PSP files.
*****************
Click here to print the tutorial.l
**********************
You can use my arrow to follow your work
Click on it and drag it all along the tutorial !

***************
Tutorial made with PSP 2018.
********************
1 - Open a new transparent image of 950 by 700 pixels.
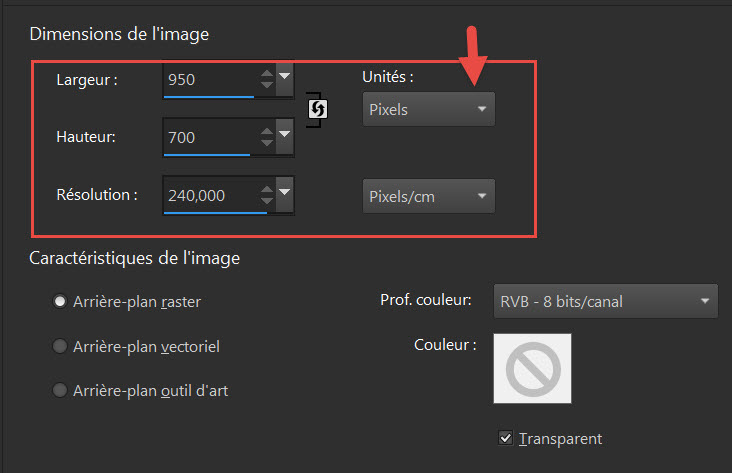
2- Selections / Select none.
3- Open the tile "Carreaux" or a tile of your choice, in your PSP and copy it.
4- Paste INTO THE SELECTION of your transparent image.
- Selections / Select none.
- Adjust / Sharpness / Sharpen, if necessary.
5- ADD A NEW RASTER LAYER.
6- Selections / Load, save a selection / Load the Selection from Disk / Choose "Fairymist_Noel2018 1"
and set as below :
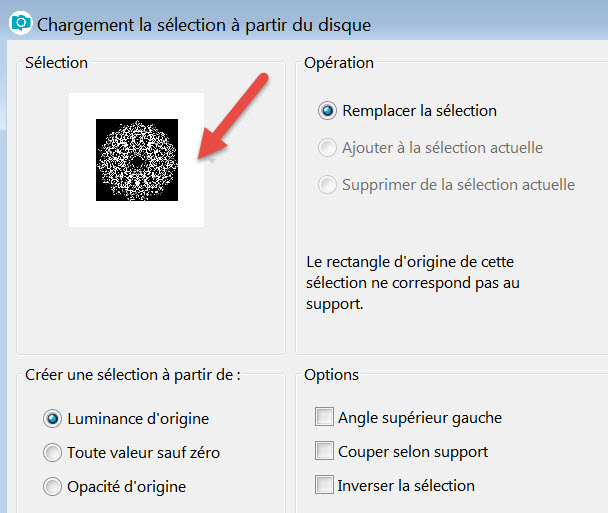
7- Flood fill that selection, on your new layer, with the colour of your choice (white for me).
- Selections / Select none.
8- Open the tube "sihirperisicom-freme-noel-png-2 (9)" or a Christmas frame of your choice, in your PSP and copy it.
9- Paste it as a new layer.
10 - I have placed the tube as follows :
- Effects / Image Effects / Offset as below :
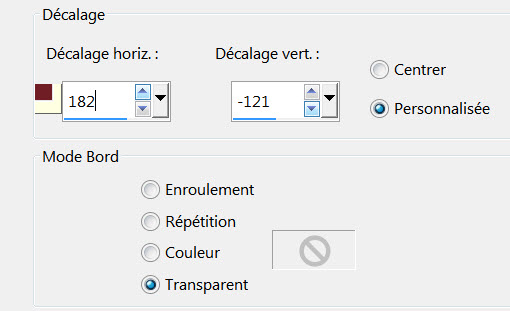
- My frame is now in the center of my lace circle.
11- With your magic wand, set as below, click inside your frame.

12- Selections / Modify / Expand by 18 pixels (that works for the frame I have chosen!).
13- Open the tube "Mina@.natale01.23.11.15"or a tube of your choice, in your PSP and copy it.
14- Paste it as a new layer.
- Place the most interesting part of the image in the center of the frame (without touching the selection !).
15- Selections / Invert.
- Hit the delete key of your keyboard to delete the parts of that tube that we don't want !
16- Selections / Select none.
17- Layers / Arrange / Move down.
- The image is now just underneath your frame.
18- With my erase tool, I had to erase a little bit of image on the right of my frame.
19- Effects / 3d effects / Drop shadow of your choice if your frame needs it !
(Mine has already got a shadow).
20- Open, in your PSP, the new frame "Xmas_scrap_Mucki" or a similar frame and copy it.
21- Paste it as a new layer.
- Place it, like me, all around your first frame.
22- In your layers palette, activate the layer on top of the pile.
- ADD A NEW RASTER LAYER.
23- Selections / Load, save a selection / Load the Selection from Disk / Choose "Fairymist_Noel2018 2"
and set as on point 6.
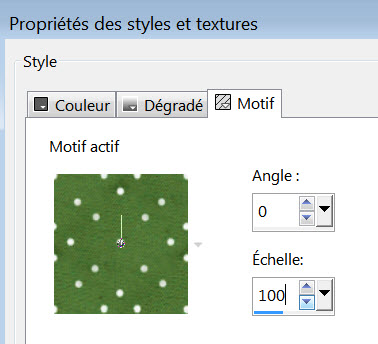
24- Open, in your PSP, tile "tuile pois" or a fancy patterned tile that matches your first tile.
25- In your Materials palette, click on the tag Pattern of your Foreground and look for your new tile :
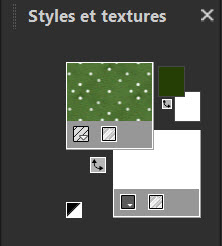
26- With your flood fill tool, flood fill your selection with your foreground pattern.
- Keep selection !
27- Open, in your PSP, the tube "misted_pere_noel_sac_jouets_tubed_by_thafs" or a tube of your choice and copy it.
28- Paste it as a new layer on to your tag.
- I have resized that tube at 75%.
- Place it like me, (without touching the selection !) or to your liking.
29- Selections / Invert.
- Hit the delete key of your keyboard
to delete that parts of that tube that touch the vertical band.
30- Selections / Select none.
31- Layers / Duplicate.
- That duplication allowed my tube to show off better.
32- Open, in your PSP, the tube "Yoka-TEXT-TIS-The_SEason-091216"or a tube of your choice and copy it.
33- Paste it as a new layer on to your tag.
- I have resized that tube at 50%.
- Place it on the vertical band like me or to your liking.
34- I have applied a white drop shadow on that tube :
- Effects / 3d effects / Drop shadow / -1, 1, 100, 1, white.
35- Open, in your PSP, the tube "flocon neige" and copy it.
36- Paste it as a new layer on to your tag.
37- Effects / Plugins / Mura Meister / Copies as below :
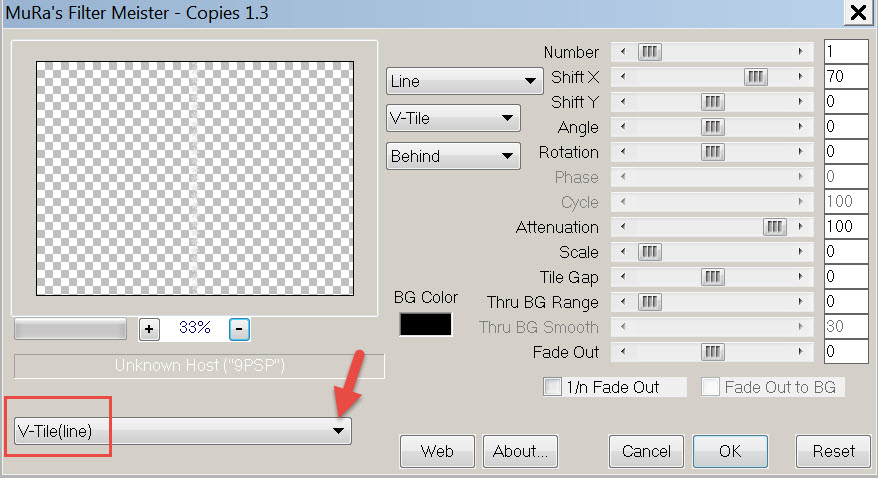
38- Move that vertical line as follows :
- Effects / Image Effects / Offset :
- Horizontal offset : - 415 / Vertical offset : 0 / Transparent and custom ticked.
39- Layers / Duplicate.
40 - Effects / Image effects / Offset :
- Horizontal Offset : 292 / Vertical Offset : 0 / Transparent and custom ticked.
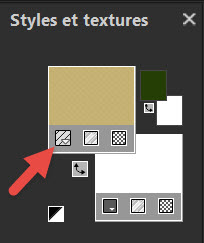
41- Set your Materials palette by clicking on the Foreground Pattern tab
and by setting your background with a colour of your choice (white for mei).
- Choose the pattern "tuile or" or a pattern of your choice.
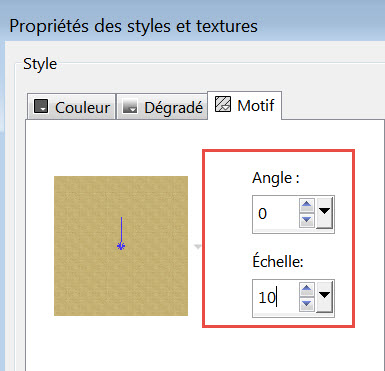
42-With your text tool, set as below, write down Merry Christmas or a title of your choice.


- Apply your choice and convert your vectorial layer to a raster layer.
43- Place the text like me or to your liking.
44- Add a drop shadow on that text :
- Effects / 3d effects / Drop shadow / -1, 1, 100, 1, green #3E642B for me.
45- In your layers palette, activate the layer just underneath.
- Open, in your PSP, the tube "étoiles" and copy it.
46- Paste it as a new layer and place it just underneath your text.
- I have set the mode of that tube on to Dodge. Lower its opacity if necessary.
47- Apply your signature.
48- Make sure everything is at the right place !
49- Image / Add some symmetrical borders of 4 pixels with the colour of your choice.
(white for me).
50- Image / Add some symmetrical borders of 40 pixels with the colour of your choice
(red #84151a for me).
51- Selections / Select all.
52- Open, in your PSP, the tube "Vyp_adele_cadre" and copy it.
53- Paste it into the selection.
- Selections / Select none.
54- Layers / Merge all.
55- Save your work as a jpg file.
*****************
That's it !! You've done it !!
If you 've enjoyed doing my tutorial, it would be nice to write a few words in my guest book !
If you 've had the slightest problem, please, send me a mail so I can see to the problem.
Tutorial translated on the 13th of december 2018
