
Thank you for putting a link to this tutorial, whenever you display your realization of that tag on a website, on a group or in a mail !
**************************
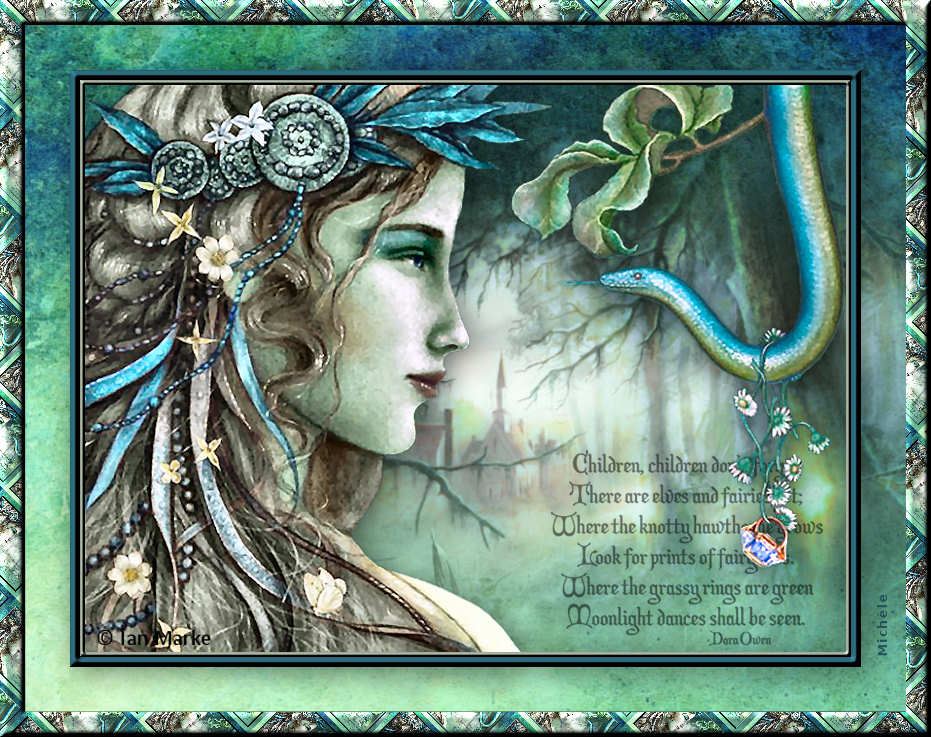
You'll find some versions of that tag in my gallery HERE
************************
To realize that tag, you'll need the material zip down below :

**************
*It is forbidden to suppress watermarks on the material provided , to alter, mist or rename the tubes in order to respect the work of the tubers
- The tube of the woman is by Kikirou.Thank you my friend for sharing your beautiful tubes with me.
- The background image is by OCD1c
- The tube of the scenery is by Bibiche.
- The other elements that I haven't created, have been found on the net.
******************
Preparation
- To be on the safe side, duplicate your tube and image in your Psp :
-
Window / Duplicate
- Close the originals and work with the copies !
*****************
Click here to print the tutorial
**********************
You can use my arrow to follow your work
Click on it and drag it all along the tutorial !

***************
Tutorial realized with PSP XIII

Step 1 : The frame
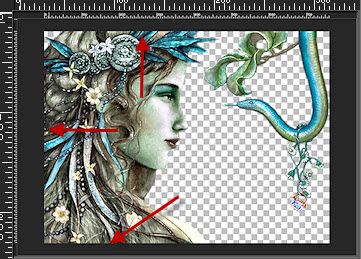
1 - Open Kikirou's tube or a tube of your choice that has two or three cut sides (see my screen capture below) :
 .
.
2- Copy that tube and paste it as a NEW IMAGE.
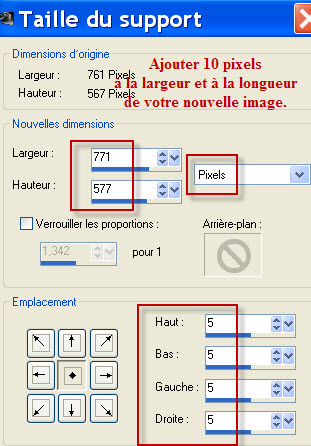
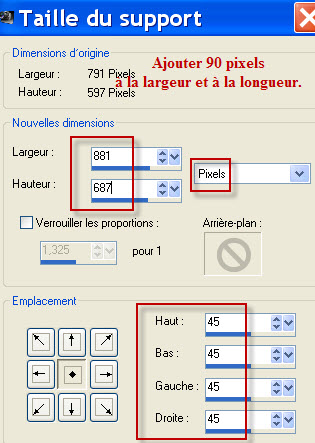
3- Image / Canvas size as below :
The size of your image (Original dimensions) will depend on the chosen tube ! To get your new dimensions, you will just have to add 10 pixels in width and length to get a 5 pixels width border all around your tube.
3- Selections / Select all.
- Selections / Modify / contract by 5 pixels.
- Selections / Invert.
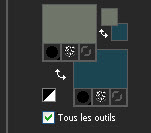
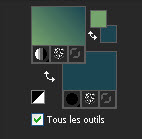
4 - Set your Material palette with two colours out of your main tube; these two colours will be used to make small borders around your tube.
- My choice : Foreground : colour 6F766a
- Background : colour 1D4652
5- Flood fill the selection with your foreground colour ( left click). It isn't necessary to add a new layer.
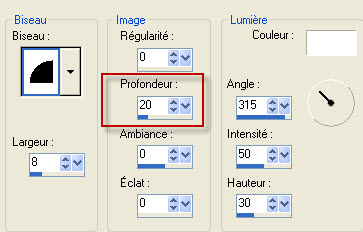
6- Effects / 3d effects / Inner bevel as below :
- Deselect all.
7- Image / Canvas size as below :

8- Selections / Select all.
- Selections / Modify / contract by 10 pixels.
- Selections / Invert.
9- Flood fill the selection with your background colour (right click)
10- Effects / 3d effects / Inner bevel as on point 6.
- Deselect all.
11- Image / Canvas size as below :
12- ADD A NEW RASTER LAYER.
13- Layers / Arrange / Move down.
14- Set your Material palette with two colours out of your main tube; these two colours will be used to give your background a tonality, in harmony with your tube.
- My choice : Foreground : colour 76A46D
- Background : colour 1D4652 (same colour as previously)
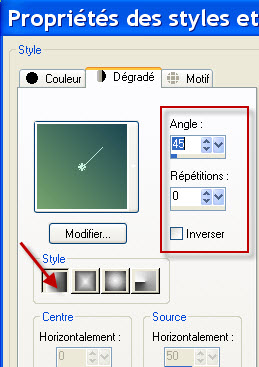
- Set your foreground with a linear gradient as below :
15- Flood fill your transparent layer with that gradient.
16- Selections / select all.
17-ADD A NEW RASTER LAYER.
18- Open the image " By the sea_ocd1c_stock.jpg" or a background of your choice and copy it.
19- Paste that image INTO THE SELECTION.
- Deselect all.
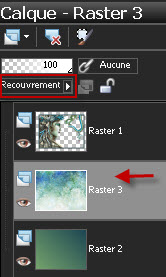
- Set the mode of that layer on to Overlay or any other mode that suits you better.
20- Here is what I have in my layers palette :
Step 2 : The scenery and the text
1- Open the tube " AAAbibichescenery392.pspimage"or a tube of your choice and copy it.
2-ADD A NEW RASTER LAYER.
- Select all.
3- Paste that tube INTO THE SELECTION, on that new layer.
- If your tube is large enough, you may paste it as a new layer on to your tag.
- Deselect all.
4- As the colour of my tube didn't quite match my colours, here is what I did :
- Adjust / Hue and saturation / Hue map :

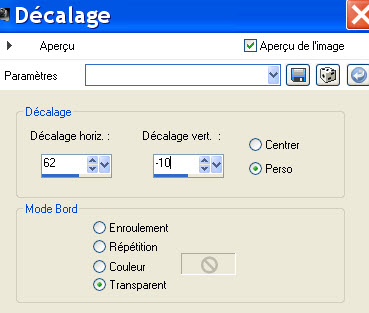
5- I, then, moved my tube that way :
- Effects / Image effects / Offset as below :
6- Open the text tube I have used or a tube of your choice and copy it.
7- Paste it as a new layer on to your tag.
- Place it in the bottom right hand corner of your tag, like me or to your liking.
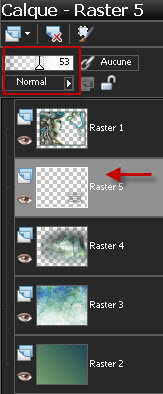
- I have lowered the opacity of that layer to 53. It is up to you to decide what opacity you like !
8- Activate your top layer (Raster 1).
9- Effects / 3d effects / Drop shadow of your choice / 4, 4, 50, 40, black for me.
Step 3 : The final border
1- Make sure everything is at the right place.
- Image / add some symmetrical borders of 25 pixels with a contrasting colour : white for me.
2- With your magic wand, set as below, select this white border.

3- Set your Material palette as below :
- Activtate the pattern tab of your Foreground and set it as below :
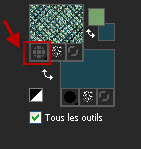
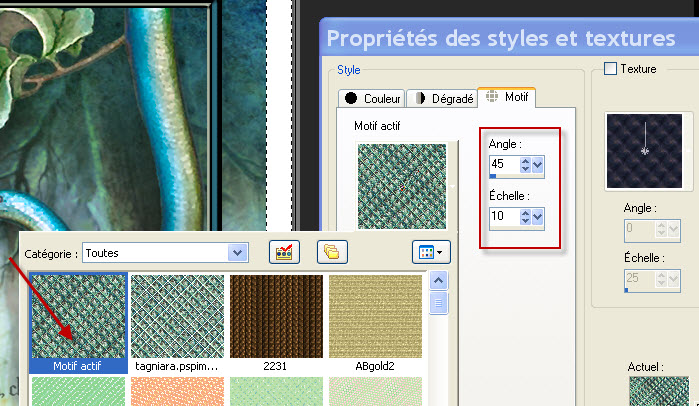
4- Flood fill your selected border with that foreground pattern (No need to add a new raster layer !)
7- Effects / 3d effects / Inner bevel as below :
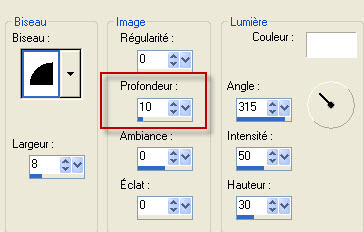
- Deselect all.
5- Apply your signature.
6 - Save your work as a jpeg file.
***************
That's it !! You've done it !!
If you 've enjoyed doing my tutorial, it would be nice to write a few words in my guest book ! If you 've had the slightest problem, please, send me a mail so I can see to the problem
Tutorial translated on the 29 th of July 2012
*************************
You'll find some versions of that tag in my gallery HERE