Thank you for putting a link to this tutorial, whenever you display your realization of that tag on a website, on a group or in a mail !
**************************
You'll find some versions of that tag in my gallery HERE
***************
To realize that tag, you'll need the plugins Unlimited 2.0
and the material zip down here :

*******************
*It is forbidden to suppress watermarks on the material provided , to alter, mist or rename the tubes in order to respect the work of the tubers
- The elements of scrap I have used come from a kit by Mucki here
- The tube of the cat has been found on the net
********************
Preparation
Duplicate your tubes and image. Close the originals and minimize the copies for now.
*****************
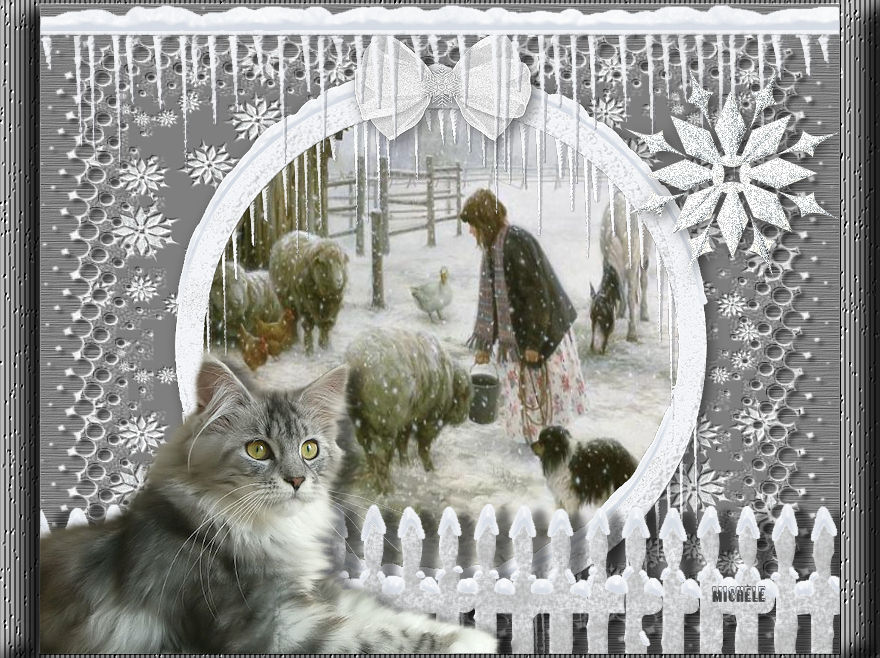
1- Open a new transparent image of 800 by 650 pixels and select all
2- Open the image " tuile grise" or a paper of your choice ( you may as well colorize my paper ), copy it and paste it into the selection
3- Effects / edges effects / enhance
Keep selection !
4- Add a new raster layer
Open the image "tuile étoilée", or a paper of your choice matching the first paper, copy it and paste it into the selection
Select none
5- Image / resize at 90 %
6- Effects / plugins / Filters Unlimited 2.0 / Edges square / square edge 16
7- Effects / plugins / Filters Unlimited 2.0 / Convolution filters / Emboss ( light / inverse )
8- Effects /3d effects / drop shadow / 4, 4, 50, 5, black
9- Open the tube "cadre glacé", copy it and paste it as a new layer
10-Effects / image effects / offset / horiz 0, vert - 20, custom and transparent checked
11- With your magic wand, set as below, select the inside of your round frame

12- Selections / modify/ expand by 15 pixels
13- Add a new raster layer
Open your scenery image and draw a round selection on a nice part of your picture ( My scenery picture has already got that selection !)
Copy that round selection and paste it in the selection on your tag
Select none
14- Layers / arrange / move down ( your picture is now underneath your frame )
15- Go back on your top layer
Layers / merge down
16- Effects / 3d effects/ drop shadow / 4, 4, 50, 20, black
17- Open the tube "noeud", copy it and paste it as a new layer
Image / resize at 60 %; adjust / sharpness / sharpen
Place your bow on the top part of your frame
18- Same drop shadow as on step 16
19- Open the tube "barre givrée", copy it and paste it as a new layer e
Place it on the top of your tag as shown on my tag
20- Open the tube "étoile", copy it and paste it as a new layer
Place that tube as on my tag
21- Same drop shadow as on step 16
22- Open the tube "barrière", copy it and paste it as a new layer
Place that tube, on the bottom right hand side of your tag
23- Effects /3d effects / drop shadow / 4, 15, 50, 10, black
24- Layers / duplicate
Image / mirror
Move that tube so the two elements don't overlap
25-Open the tube cat, copy it and paste it as a new layer
Image / mirror
Image / resize at 75 %
Adjust / sharpness / sharpen
Place the cat as on my tag
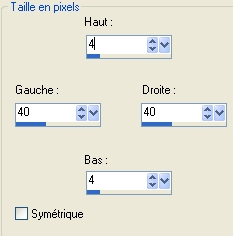
26- Same drop shadow as on step 23
27- Image / add some NON symmetrical white borders as below :
28- With your magic wand set as on step 11, select your white border
29- Add a new raster layer
Open the paper "tuile mouchetéee, copy it and paste it into the selection
30- Effects /texture effects / blinds / 5, 50, white , check light from left / top
31- Effects / plugins / Filters Unlimited 2.0 / Convolution filters / engraver
32- Effets /3d effets / inner bevel as below :

33- Add a new raster layer and apply your signature
34- Merge all and save your work as a jpeg file
************
That's it !! You've done it !!
If you 've enjoyed doing my tutorial, it would be nice to write a few words in my guest book ! If you 've had the slightest problem, please, send me a mail so I can see to the problem !
Tutorial translated on the 2nd of December 2009
******************
You'll find some versions of that tag in my gallery HERE