Thank you for putting a link to this tutorial, whenever you display your realization of that tag on a website, on a group or in a mail !
**************************
You'll find some versions of that tag in my gallery HERE
***************
To make that tag, you'll need the plugins :
- Mura's Meister
- Mura's seamless
and the material zip down below :

**************
"It is forbidden to suppress watermarks on the material provided, to alter, mist or rename the tubes, in order to respect the work of the tubers.
- The tube of the little girl is by Dini.
- The other elements that I haven't created have been found on the net.
******************
Preparation
To be on the safe side, duplicate your tubes and image in your Psp :
-
Window / Duplicate
- Close the originals and work with the copies !
- Font to be opened outside your Psp if you still have Windows XP, to save in your Windows font file
or to open via the program The Font thing is you have Win7, 8 or 10.
***************
Click here to print the tutorial
***********************
You can use my arrow to follow your work
Click on it and drag it all along the tutorial !

***************
Tutorial made with PSP XIII
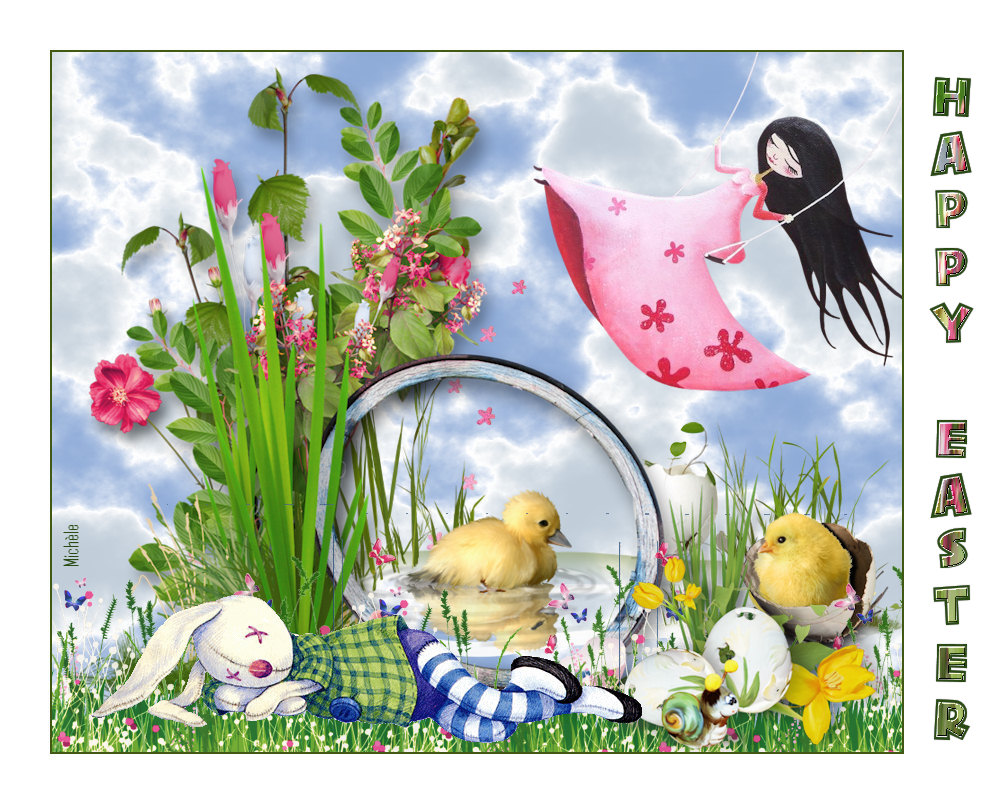
This very simple tutorial is just a tube collage to celebrate Easter time !
******************
1 - Open my image "Fairymist_Bkg-nuages" (Size 850 by 700 pixels)
- If you wish to create your own sky : open a transparent image of 850 by 700 pixels
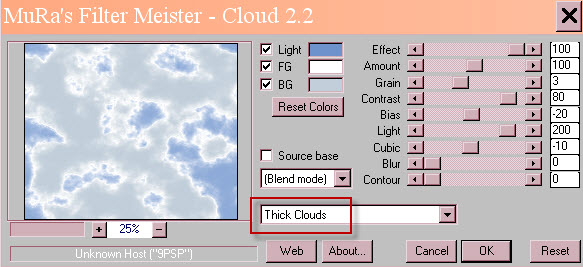
- Effects / Plugins / Mura's Meister / Clouds as below :
- Choose Thick Clouds to start with, then
choose the colours you want to use (for me : Light : 6c93ce / FG : white / BG : c1cfda
- Unfortunatly, the result is never the same !
2- Open the tube "cadre fleuri" or another fantasy frame of your choice, in your Psp and copy it.
3- Paste it as a new layer on to your tag.
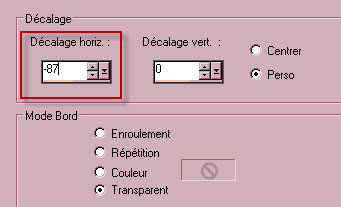
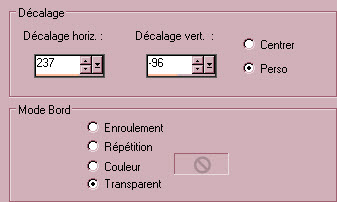
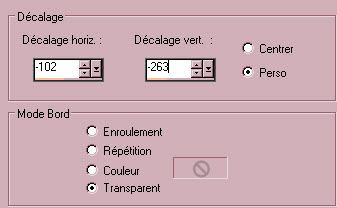
4- Place that tube to your liking or like me :
- Effects / Image effects / Offset as below :
5- Open the tube "caneton" or another tube of your choice, in your Psp and copy it.
6- Paste it as a new layer on to your tag.
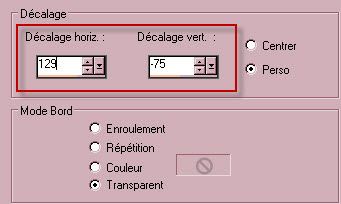
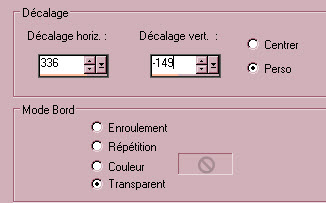
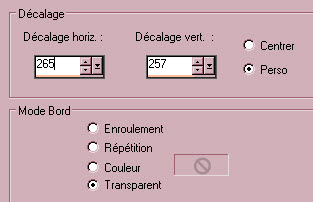
7- Place that tube to your liking or like me :
- Effects / Image effects / Offset as below :
8- Layers / Arrange / Move down.
9- Open the tube "oeuf"or another tube of your choice, in your Psp and copy it.
10- Paste it as a new layer on to your tag.
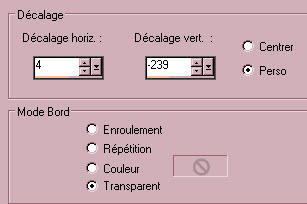
11- Place that tube to your liking or like me :
- Effects / Image effects / Offset as below :
12- Open the tube "Poussin"or another tube of your choice, in your Psp and copy it.
13- Paste it as a new layer on to your tag.
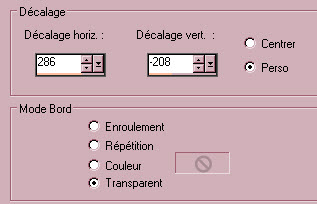
14- Place that tube to your liking or like me :
- Effects / Image effects / Offset as below :
15- Open the tube "Herbe fleurie"or another tube of your choice, in your Psp and copy it.
16- Paste it as a new layer on to your tag.
17- Place that tube to your liking or like me :
- Effects / Image effects / Offset as below :
18- In your layers palette, activate the layer on top of the pile.
- Open the tube "Oeuf et escargot"or another tube of your choice, in your Psp and copy it.
19- Paste it as a new layer on to your tag.
20- Place that tube to your liking or like me :
- Effects / Image effects / Offset as below :
21- Open the tube "Lapin"or another tube of your choice, in your Psp and copy it.
22- Paste it as a new layer on to your tag.
23- Place that tube to your liking or like me :
- Effects / Image effects / Offset as below :
24- Open the tube "dini-cutie_09-06-04" or another tube of your choice, in your Psp and copy it.
25- Paste it as a new layer on to your tag.
- I have resized that tube at 75%.
26- Place that tube to your liking or like me :
- Effects / Image effects / Offset as below :
- I have lowered the opacity of that layer at 80.
- With your erase tool, erase the part of the moon that shows on the top right hand side of your tag.
27- Apply your signature
Optionnal : - Add some light drop shadows on your tubes if you wish.
28 - Image / add some symmetrical borders of 2 pixels with the colour of your choice :
(green 294b13 for me)
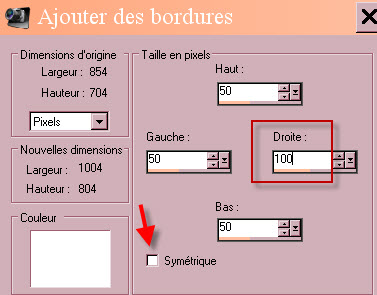
29- Image / add some NON symetrical borders with a colour of your choice as shown below :
(white for me)
30- Activate your text tool, set as below :

- Set your Material palette like me :
- Background (colour of your previous 2 pixels border)
- Foreground closed.
- Apply your text tool on right hand side border of your tag and apply.
- Place your text at the right place.
- Promote your vectorial layer on to a raster layer.
31- With your rectangle selection tool, make a vertical rectangular selection in a part of your tag that has several colours
- Copy that selection. Select none.
32- With your magic wand, set as below and while pressing the shift key down, select the inside of all your letters.

33- Add a new raster layer.
- Paste into the selection, on to that new layer. Select none.
34- Effects / Plugins / Mura's seamless / Emboss at alpha default.
35- On the layer just underneath :
- Effects / 3d effects / drop shadow / 0, 0, 100, 1, black)
36- Layers / Merge all.
37 - Save your work as a jpg file.
***************
That's it, you have done it !
If you have the slightest problem, don't hesitate to get in touch with me !
Tuto translated on the 19th of march 2016
*******************
You'll find some versions of that tag in my gallery HERE