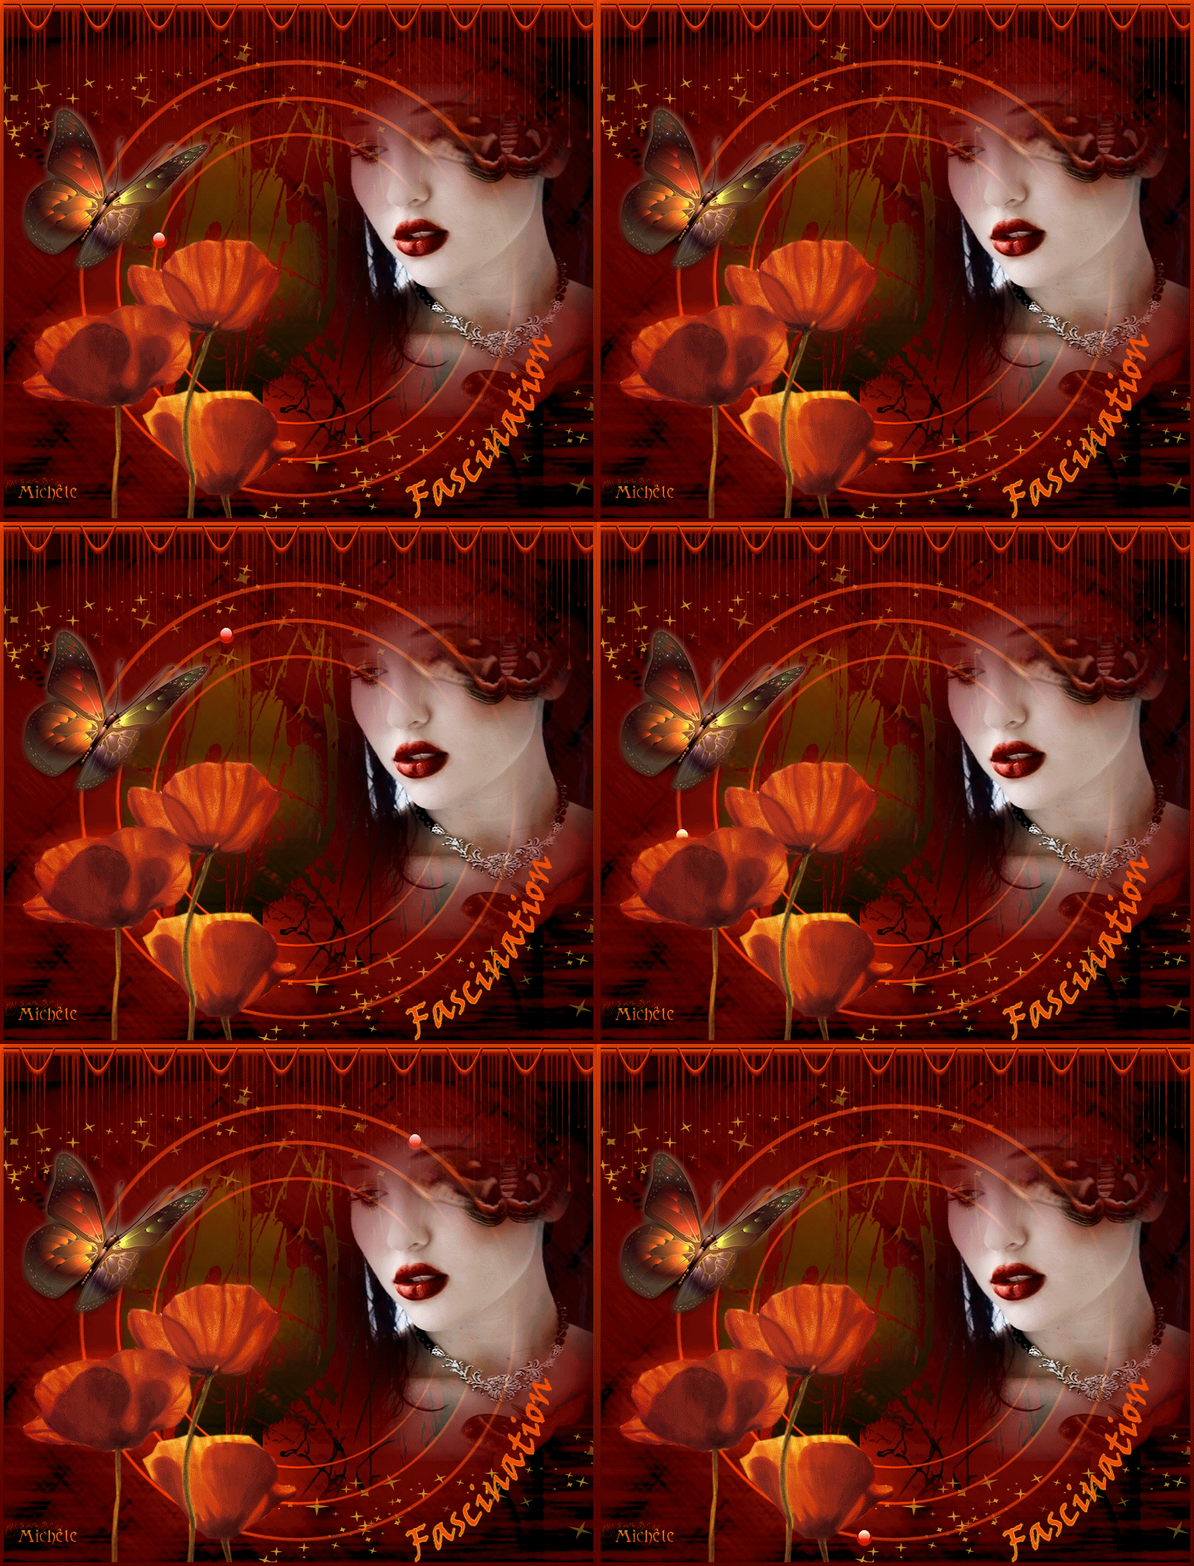

Thank you for putting a link to this tutorial, whenever you display your realization of that tag on a website, on a group or in a mail !
**************************
You'll find some versions of that tag in my gallery HERE
***********************
To realize that tag, you'll need the plugin Murameister
and the material zip down below :

***************
*It is forbidden to suppress watermarks on the material provided , to alter, mist or rename the tubes in order to respect the work of the tubers
- The tube of the flower is by Guismo
You'll be able to find her tubes on Dakara' s site here
and you can join in her sharing group here
The tube of the woman est by Aclis,
You can join in her sharing group here
The tube of the butterfly is by Calypso Design
The background used is by Katussia
The brushes I have used are by Coby 17 and Hjr
*****************
Preparation
Duplicate your tubes, image and mask, close the originals and minimize the copies for now.
Place your selection in your selection file .
Export your brush in your PSP as a custom brush
*****************
Click here to print the tutorial
*******************
You can use my arrow to follow your work

*****************
1- Open a new transparent image of 800 by 650 pixels
2- Set your colour palette with two colours out of your tubes
Foreground : dark colour : 660800 
Background : bright colour : f94b03 
3- Flood fill your image with your dark colour
4- Add a new raster layer and select all
5- Open the image KTs-Pap4a.jpeg, copy it and paste it into the selection
Select none
6- Set the mode of that layer to Burn
7- Layers / new mask layer / choose masque 50/ check Source luminance
Merge group
8- Add a new raster layer
Selections / load from the disk / choose selectfascinationfairymist / check Source luminance and replace the selection
9- Prepare in your foreground a linear gradient angle and repeats at 0, Invert not checked the two colours you chose on line 2
With your brush tool set as below, appy the brush Hjr-sad-days1 right in the center of the tag (you may choose another brush)
The selection will help you to apply your brush in the center; keep the selection for the moment

10- Set the mode of that layer to Difference or another mode of your choice
11- Add a new raster layer
Flood fill your selection with your bright colour
12- Selections / modify/ contract by 5 pixels
Hit delete to suppress the inside of your circle
Select none
13- Lower the opacity of that layer to 60 ( the degree of opacity will depend on the colour you've chosen)
13 -Image / duplicate
Image / resize at 80% ( resize all the layers not checked ! )
14- Activate your first circle (layer just below )
Image / duplicate
Image / resize at 120% ( resize all the layers not checked ! )
15-Put a light colour in your foreground ; I 've put the colour f7c437 
16- Add a new raster layer
With your brush tool, set as on line 9, apply your brush Elegants-Brushes12 by Brenda ( size 664 ) in the bottom hand right corner of your tag
17- Layers / duplicate
Image / mirror
Image / flip
18- Open the tube Aclis face, copy it and paste it as a new layer
Image / mirror
Place the tube as shown on my tag
19- Open the tube of the flower , calguisflower619, copy it and paste it as a new layer
Place the tube as shown on my tag
20- Effects /3d effects / drop shadow as below

Don't forget to click on the square Shadow on new layer !!!
21- Effects /distortion effects / wind / left 100 and wind / right 100
22- Set the mode of the layer to Dodge and lower the opacity if you think your shadow is too light ( I have lowered the opacity of my layer to 80 )
23- Activate the layer on top
Open the tube of the butterfly , copy it and paste it as a new layer
Image / resize at 55 %. Adjust / shapness / sharpen
Place the butterfly as shown on my tag
24- Add a new raster layer and write your text in your own way, in the bottom hand right corner of your tag
If you want , you can use my tube text, copy it and paste it as a new layer ( colorize it eventually)
25- Add a new raster layer and apply your signature in the bottom hand left corner of your tag
26- Activate the bottom layer and add a new raster layere
Layers / Arrange / send to bottom
27- Image / canvas size as below

Prepare your colour palette with your dark colour in the foreground and black in your background
Flood fill your transparent image with your dark colour
28- Effects / plugins / Murameister / clouds as below :

29- Activate the 4th layer from the bottom, as below :

30- Open the tube deco1fairymist, copy it and paste it as a new layer
Place the tube on the upper part of your tag
You can use the other tube deco2fairymist, to your liking
31- Let's finish the tag with a border (but without merging the layers because of the animation which follows )
Add a new raster layer layer and select all
Flood fill that layer with a colour which suits you to make your border
(I have chosen the colour 9a1f01 )
32- Selections / modify / contract by 5 pixels
Hit delete to suppress the inside of the selection
Select none
33- Your tag is now finished
If you don't feel like doing the animation, merge all and save your work as a jpeg file
********
ANIMATION
1-Switch off the layers face, flowers, butterfly so that they don't get in the way when you want to place your different tubes "bulle", later on
2- Activate the stars layers (the one just underneath the face layer )
Open the tube bulle, copy it and paste it as a new layer
3- Duplicate your layer bulle 20 to 25 times (I 've duplicated my bulle layer 22 times)
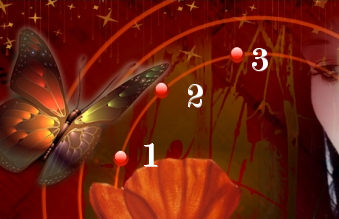
4- Place all the bulle tubes at regular interval on the 3 circles
Be careful , you must place the tube in the order they will appear


5- When you've placed all your bulle tubes, close all of them apart from layer bulle 1
6- Do a right click on your tag / copy merged ( Edit / copy special / copy merged)
7- Open your animation shop
right click / paste as a new animation
8- Back to your Psp :
Switch off your layer bulle 1 / Activate layer bulle 2
Edit / copy special / copy merged
9- In your animation shop :
Edit / paste after the active image
10- Back to your Psp :
Switch off your layer bulle 2 / activate layer bulle 3
Edit / copy special / copy merged
11- In your animation shop :
Edit / paste after the active image
12- Repeats lines 10 and 11 until you have no more bulle layers.......
13- In your animation shop
Edit / Select all
14- Animation / frame properties / display time 40 or more if you want your animation to be slower
15- Have a look at your animation by clicking here :

Stop the animation by clicking on it again
16- Save your animation as a gif file!
*****************
That's it !! You've done it !!
If you 've enjoyed doing my tutorial, it would be nice to write a few words in my guest book ! If you 've had the slightest problem, please, send me a mail so I can see to the problem !
Tutorial translated on the 16th of march 2009
...............................
You'll find some versions of that tag in my gallery HERE
