Thank you for putting a link to this tutorial, whenever you display your realization of that tag on a website, on a group or in a mail !
**************************
You'll find some versions of that tag in my gallery Here
***********************
To make that tag, you'll need the filters :
- Filters Unlimited 2.0.
- AP lines / Lines silverlining.
- Mura's meister.
and the material zip down below :

**************
*It is forbidden to suppress watermarks on the material provided , to alter, mist or rename the tubes in order to respect the work of the tubers
- The tube of the girl is by Doucelyne.
- The tube of the leaves is by Sabine.
You can join her sharing groupe here.
- The other elements that I haven't created, have been found on the net.
******************
Preparation
To be on the safe side, duplicate your tubes and image in your Psp :
-
Window / Duplicate
- Close the originals and work with the copies !
- Install the file"PresetShapes (4)" in your Preset shapes folder of your Psp files.
*****************
Click here to print the tutorial
**********************
You can use my arrow to follow your work
Click on it and drag it all along the tutorial !

***************
Tutorial made with PSP XVIII
**********
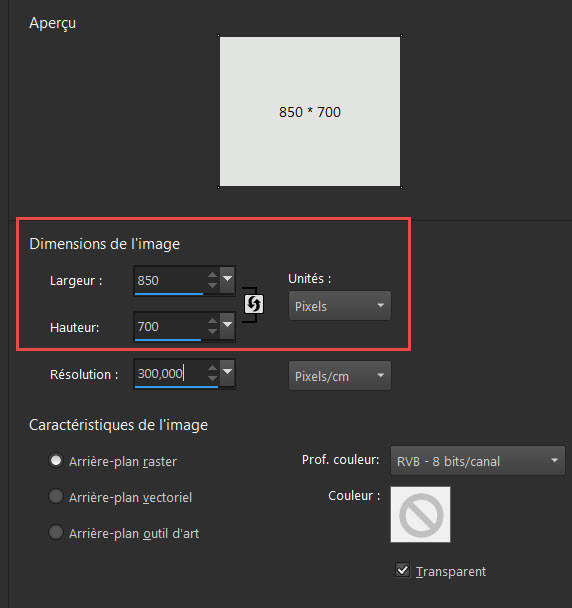
1 - Open a new transparent image of 850 by 700 pixels.
2 - Selections / select all.
3 - Open the image "Paysage" and copy it.
4- Paste it into the selection of your transparent image. Select none.
5- Adjust / Blur / Gaussian blur at 30.
6- If you wish to change the colours of that image, proceed as below :
- Adjust / Hue and saturation / Hue map.
- Move the different cursors until you get the colours you like !
- If you prefer, you can use another multicolored image.
7- Layers / Duplicate.
8- Image / Flip.
9- Open the mask "Narah_Abstract035" in your Psp and minimize it.
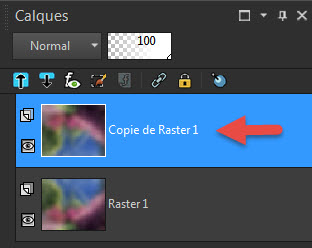
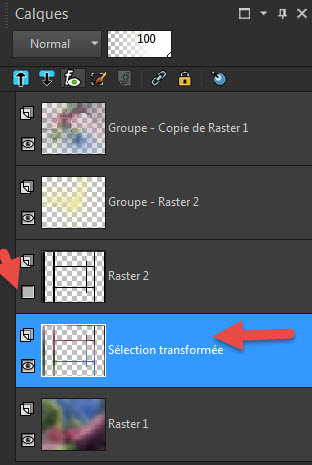
10- Make sure that duplicated layer is activated as shown below :
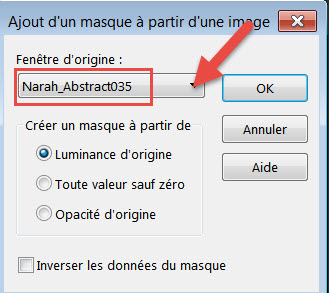
11- Layers / New mask layer / from image / set as below :
- Adjust / Sharpness / sharpen more.
- Merge group.
- I have set the mode of that layer on to Overlay.
- It is up to you to see which mode suits your image better if you have changed colours.
12- Activate your bottom layer (raster 1).
- With your dropper tool, pick a brighful colour out of your picture.
- I have chosen a light yellow: #ece79b
13- ADD A NEW RASTER LAYER.
14- Flood fill that new layer with your light colour.
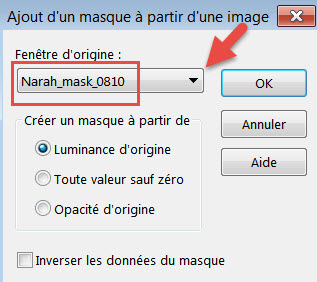
15- Open the mask"Narah_mask_0810" in your Psp and minimize it.
16- Layers / New mask layer / from image / set as below :
- Adjust / Sharpness / sharpen more.
- Merge group.
- I have set the mode of that layer on to Overlay.
- It is up to you to see which mode suits your image better if you have changed colours.
17- Activate, once more, your bottom layer (raster 1).
18- Activate your Preset shapes tool (Letter P), choose the shape Chat-FTP.8
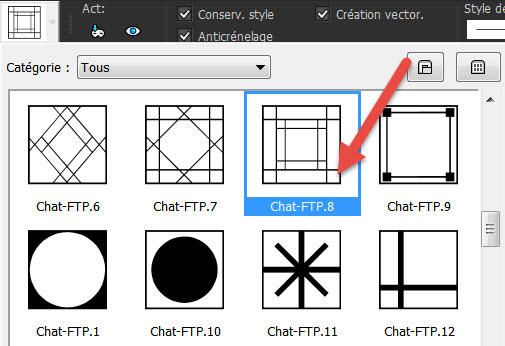
- Set as below :

- Starting from the top left hand side corner of your tag
and pulling the shape towards the bottom hand right corner, fill in the tag with the grid :
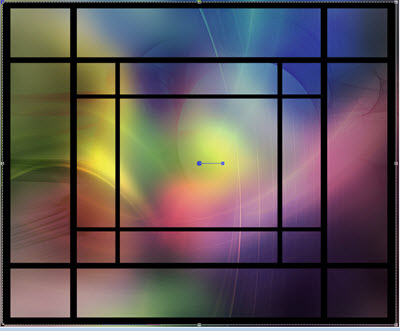
- Layers / Convert to raster layer.
19- At this stade, I guess your grid isn't quite stuck to the sides of your tag, so this is what I did to make it perfect :
- Edit / Cut.
- Selections / select all.
- Edit / Paste into Selection. It is now perfect !
- We are now going to select the grid this way :
20- Selections / float.
- Selections / Defloat.
21- Activate your bottom layer (raster 1).
- Selections / Promote Selection to layer. Select none.
22- Image / Flip.
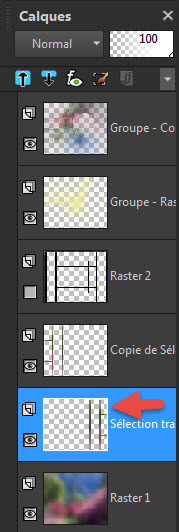
23- Close the layer above (The black grid / raster 2 for me).
- Layer "Promoted selection" activated.
24- Effects / Plugins / IC Net software / Filters Unlimited 2.0 / Convolution filters / Emboss strong / 206.
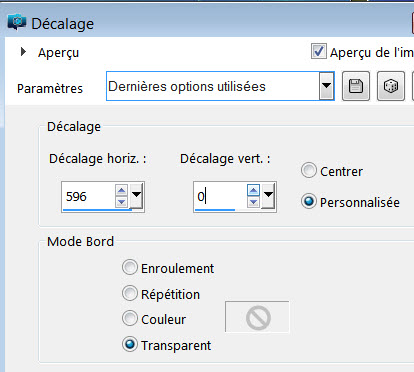
25. Effects / Image effects / Offset as below :
26- Layers / Duplicate.
- Image / Mirror.
27- Activate the layer just below (the right hand side grid).
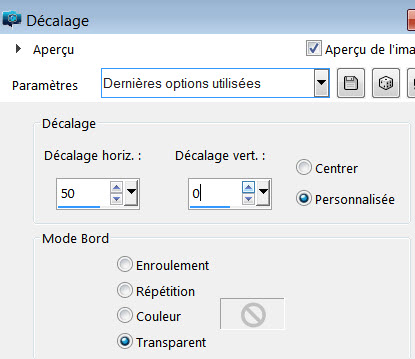
- Effects / Image effects / Offset as below :
- This is to avoid a perfect symetry of the two parts of the grid !
28- Activate the layer just above (the left hand side grid).
- Layers / Merge down.
- The two parts of the grid are now on the same layer !
29- With your magic wand, set as below, select the inside of one of the squares of that grid.

- Keep your shift key pressed and select the inside of all the different parts of that grid.
30- Activate your bottom layer (Raster 1).
- Selections / Promote Selection to layer.
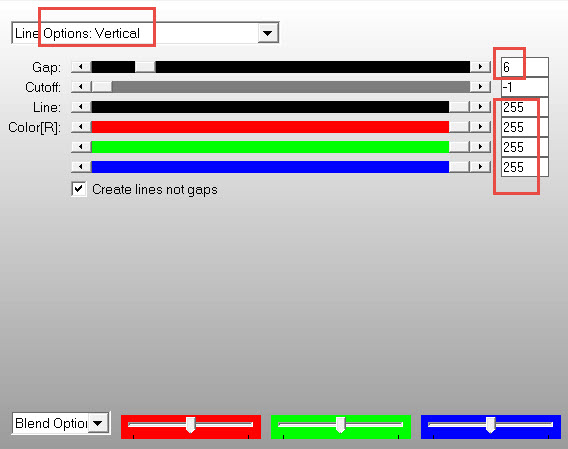
31- Effects / Plugins / AP lines / Lines silverlining as below :
- Select none
32- Open the tube "stars", copy it and paste it as a new layer.
33- Activate your top layer.
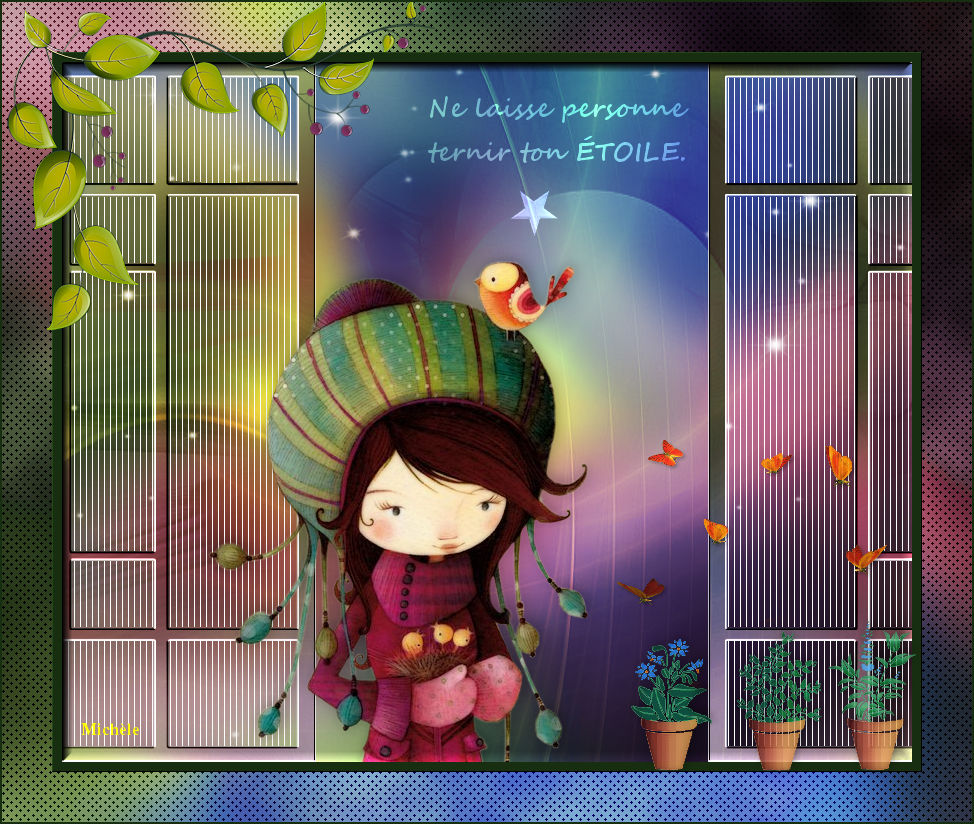
- Open the tube " Doucelyne_12 tube 550" or a tube of your choice, copy it and paste it as a new layer.
34- Place it like me or to your liking.
35- Effects / 3d effects / drop shadow of your choice / -2, 2, 32, 20, black for me.
36- Open the tubes "ÉTOILE" and" Fairymist_Doucelyne_texte", copy them and paste them as new layers on to your tag.
- Place them like me or to your liking.
- I have set the mode of those layers on to Dodge and lowered their opacity between 50 and 60.
37- Activate again your bottom layer and copy it.
38 - Make sure everything is at the right place.
- Image / add some symmetrical borders of 10 pixels with a colour of your choice. / 182e10 for me.
39- With your magic wand, select this border.
- Effects / 3d effects / Outer Bevel as below :
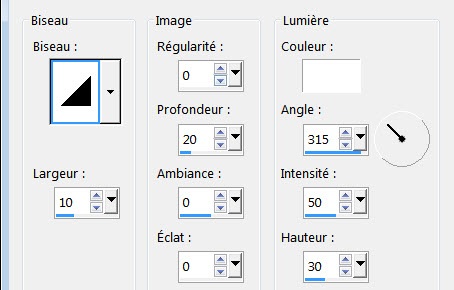
- Select none.
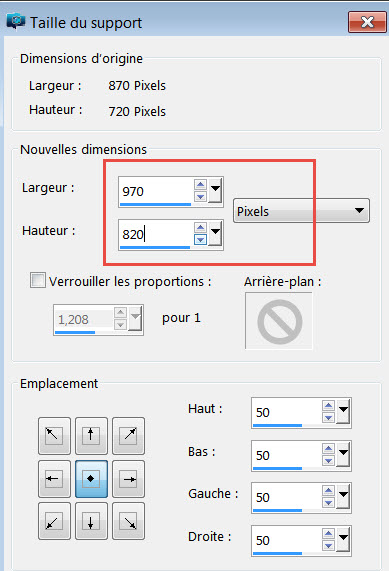
40- Layers / Promote background layer.
- Image / Canvas size as below :
41- Selections / select all.
42- ADD A NEW RASTER LAYER.
- Layers / Move down.
43- Paste into Selection (your background copy). Select none.
44- Image / Flip.
45- Layers / Duplicate.
46- Effects / Plugins / IC Net software / Filters Unlimited 2.0 / Render / smoke default.
- I have set the mode of that layer on to Overlay.
47- Effects / Plugins / Mura's Meister / Tone default.
48- Apply your signature.
49- Open the tube "Graph-Sabine Design-Tubes 426" in your Psp and copy it.
- Paste it as a new layer on to your tag.
- I have resized that tube at 65%.
- Place like me or to your liking.
50- Open the tubes "Papillons" and "pots plantes", in your Psp and copy them.
- Paste them as new layers on to your tag
- Place like me or to your liking.
51- Image / add some symmetrical border of 2 pixels with the same colour as for your 10 pixels width border.
52 -Save your work as a jpeg file.
***************
That's it, you have done it !
If you have the slightest problem, don't hesitate to get in touch with me !
Tuto translated on the 17th of november 2016
*******************
You'll find some versions of that tag in my gallery Here