
Thank you for putting a link to this tutorial, whenever you display your realization of that tag on a website, on a group or in a mail !
**************************
You'll find some versions of that tag in my gallery here
***********************
This is a quick and easy tutorial for those that haven't much time to play !
*******************
To make that tag, you'll need the plugins :
- Alien skin Eye candy 5 / impact,
- VDL Adrenaline
and the material zip down below :

************
*It is forbidden to suppress watermarks on the material provided , to alter, mist or rename the tubes in order to respect the work of the tubers
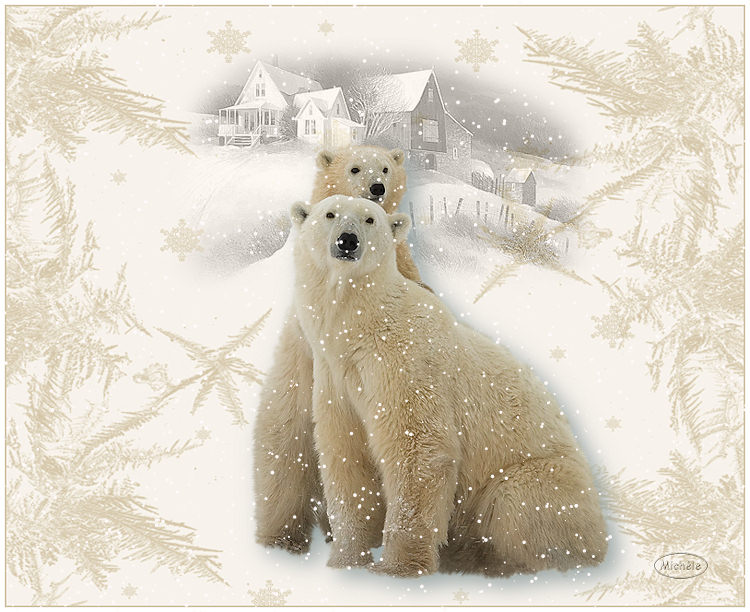
- The tube of the bear is by Gerry.
You may join her sharing group here
The paper I have used is part of BlueDreams' SnowBlue kit that you will find here
- The other elements that I haven't created, have been found on the net.
******************
Preparation
To be on the safe side, duplicate your tubes and image in your Psp :
-
Window / Duplicate
- Close the originals and work with the copies !
***************
Click here to print the tutorial
**********************
You can use my arrow to follow your work
Click on it and drag it all along the tutorial !

********************
1- Open a new transparent image of 800 by 650 pixels and select all.
2- Open the BD-SnowBlue-Paper1, copy it and paste it INTO THE SELECTION.
- Deselect all
3- Open the tube of the scenery, copy it and paste it as a new raster layer
- Place it as on my tag
4- Set the mode of that layer on to Luminance legacy and lower its opacity at 50.
- If you use another scenery tube, you may have to choose a different mode or opacity for your layers to get a nice result.
5- Open the tube of the bears, copy it and paste it as a new raster layer
- Place it as on my tag
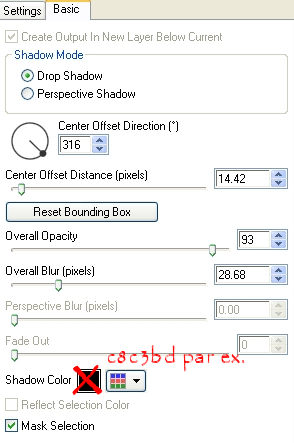
6- Effects / Plugins / Alien skin Eye candy 5 / impact / perspective shadow / drop shadow blurry as below
but use a dark colour other than black ( grey or beige, as you like ! ):
7- Apply your signature
8- Image / add some symmetrical borders of 2 pixels with a colour of your choice
I have chosen dark beige D5C9B1
9- Image / add some symmetrical borders of 15 pixels in white.
10- Repeat step 8
11- Selections / select all.
Selections / modify / contract by 19 pixels
12- Effects / Plugins / VDL Adrenaline as below :
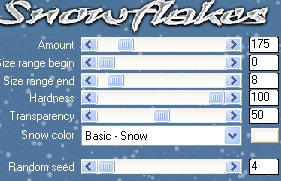
Selections / deselect all
13- Save your work as a jpeg file.
****************
That's it !! You've done it !!
If you 've enjoyed doing my tutorial, it would be nice to write a few words in my guest book !
If you 've had the slightest problem, please, send me a mail so I can see to the problem
Tutorial translated on the 18 th of december 2008
*************