
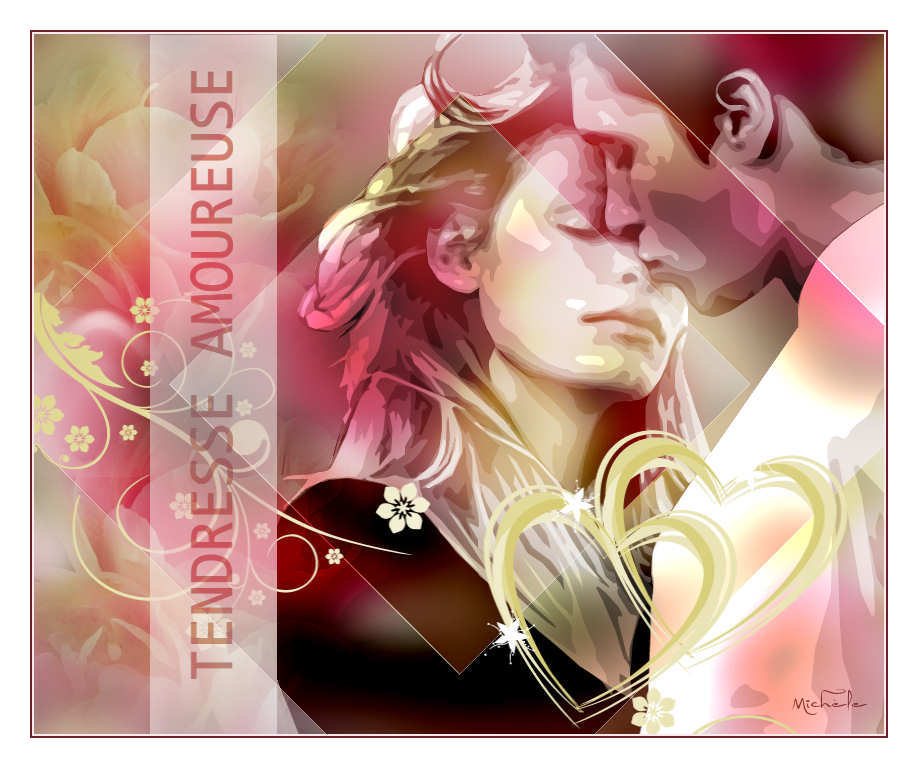
Thank you for putting a link to this tutorial, whenever you display your realization of that tag on a website, on a group or in a mail !
-----------------------
You'll find some versions of that tag in my gallery HERE
****************************
To realize that tag, you'll need the plugin :
- Simple / Diamonds
and the material zip down below :

**************
*It is forbidden to suppress watermarks on the material provided , to alter, mist or rename the tubes in order to respect the work of the tubers
-The tube of the couple is by Katussia
- The tube of the flower is by Prestige tubes
The other elements that I haven't created, have been found on the net.
******************
- To be on the safe side, duplicate your tube and image in your Psp :
-
Window / Duplicate
- Close the originals and work with the copies !
*****************
Click here to print the tutorial
**********************
You can use my arrow to follow your work
Click on it and drag it all along the tutorial !

***************
Tutorial realized with PSP XIII

Step 1 : The background of the tag
1 - Open a new transparent image of 850 by 700 pixels.
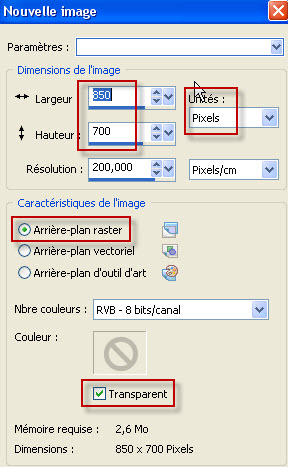
2 - Selections / select all.
3- Open the image "1.jpg " or an image of your choice and copy it.
4- Paste it INTO THE SELECTION.
- Deselect all.
5- Adjust / Blur / Gaussian blur at 30.
6- Layers / Duplicate.
7- Image / Resize at 75% ( Resize all the layers NOT checked )
8- Effects / Edge effects / Enhance
9- Effects / Plugins / Simple / Diamonds
10- Effects / Image effects / seamless tiling default.
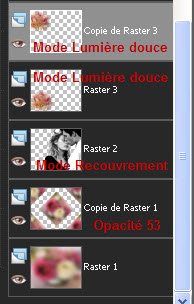
11- I have lowered the opacity of that layer to 53. It is up to you to see which opacity suits you.

Step 2 : The personnage and the flowers
1- Open the tube "kt_romance.pspimage" or a large tube of your choice and copy it.
2- Paste it as a new layer on to your tag.
- Place the tube as on my tag or to your liking if you use another tube but keep that tube in the right hand side part of your tag.
3- I have set the mode of that layer on to Overlay. It is up to you to see which mode suits you better.
4- Open the tube " rosetube.pspimage" or a tube of your choice and copy it.
5- Paste it as a new layer on to your tag.
- Place the tube as on my tag , in the bottom left hand side part of your tag.
6- I have set the mode of that layer on to Soft light. It is up to you to see which mode suits you better.
7- Layers / Duplicate.
8- With your move tool, place that copy of the flower above the other one.

Step 3 : The decorative element
1- Open the tube "Heart_14.pspimage" and copy it.
2- Paste it as a new layer on to your tag.
3- Effects / Image effects / Offset as below :

You may colorize that tube or set the layer on a mode that you like so that the tube matches your colours.
You may as well duplicate that layer so that the tube shows up better.
4- I have used the deformation tool ( letter D) to strech ( slightly ) the tube towards the left to suppress the part of the stem that was showing.

Step 4 : The text
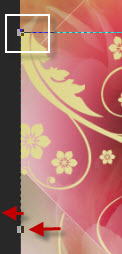
1- Selections / Load a selection / from disk / Load "fairymist_byllina.PspSelection" and set as below :
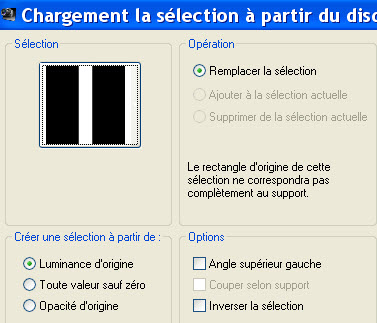
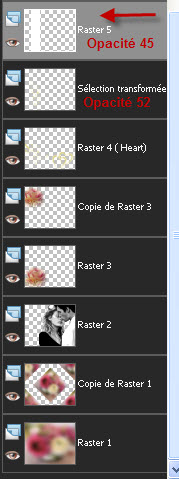
2- ADD A NEW RASTER LAYER
3- With your flood fill tool, flood fill this selection in white.
- Keep selection !
4- I have lowered the opacity of that layer on to 45. See which opacity you like !
5- Activate the layer which is underneath ( the one where your tube "Heart_14.pspimage" is :
- Selections / Promote selection into a raster layer.
6- Activate the layer which is underneath, as on step 5 and hit the delete key of your key board.
- Deselect all.
7- Activate the layer which is above.
I have lowered its opacity at 52.
8- Activate your top layer ( where your white vertical band is )
9- Activate your text tool , set as below , with some fonts of your choice.

10- Set your Material palette as below : Foreground closed / Background with the colour you wish to write with.
My choice : Background : colour 802d39
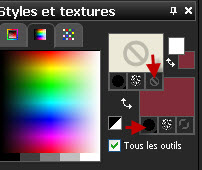
11- Write your text down and confirm your choice.
12- Image / Free rotation as below :
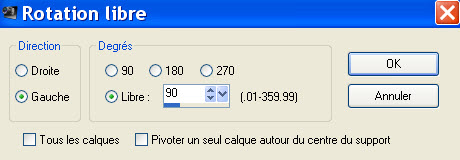
- Place the text, on the white vertical band as shown on my tag.
13- I have lowered the opacity of that layer at 70.
I have duplicated that layer and set the mode of that copy to Dodge / opacity at 45.
It is up to you to play about with the mode and opacities to get a result you like .
14- Apply your signature

Step 5 : The borders
- Make sure everything is at the right place .
1- Image / add some symmetrical borders of 2 pixels with a colour of your choice :
Light colour : fff2f5 for me .
2- Image / add some symmetrical borders of 2 pixels with a colour of your choice :
Dark colour : 6d2028 for me.
3- Optionnal : - Image / add some symmetrical borders of 30 pixels with a colour of your choice :
White : ffffff for me.
4 - Save your work as a jpeg file and resize it if necessary .
***************
That's it !! You've done it !!
If you 've enjoyed doing my tutorial, it would be nice to write a few words in my guest book ! If you 've had the slightest problem, please, send me a mail so I can see to the problem
Tutorial translated on the 25th of February 2012
*************
Merci à mes amies Huguette et Kikirou d'avoir testé mon tutoriel.
*************
Vous trouverez d'autres versions de ce tag dans la galerie ICI
******************
