
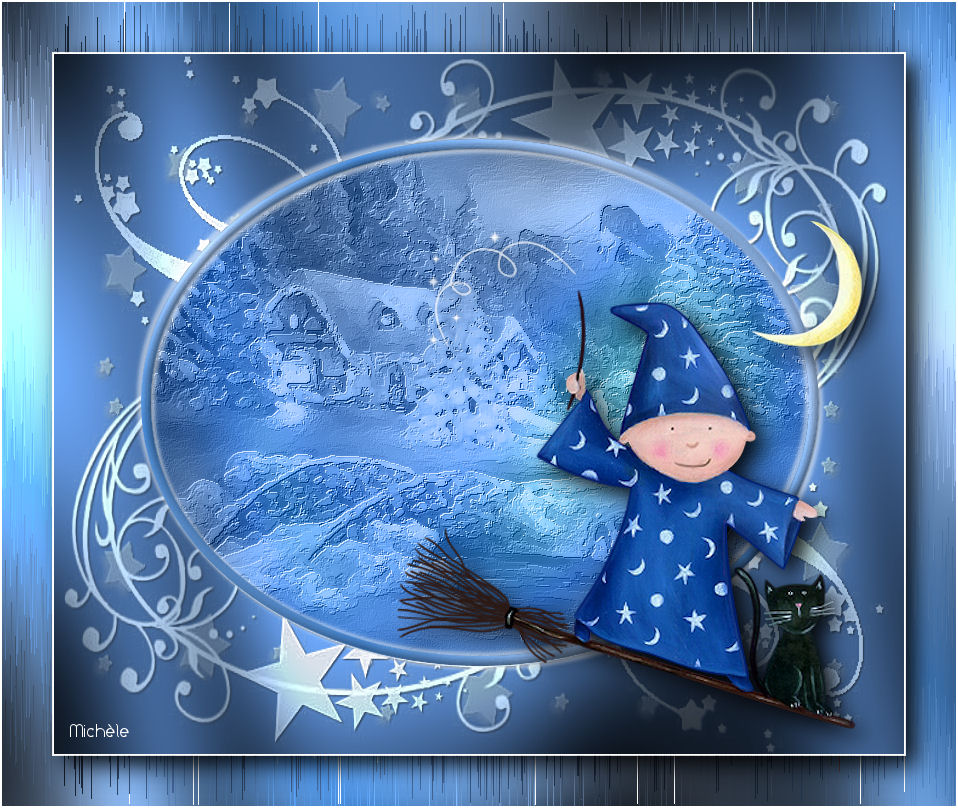
Thank you for putting a link to this tutorial, whenever you display your realization of that tag on a website, on a group or in a mail !
**************************
You'll find some versions of that tag in my gallery here
***********************
To make that tag, you'll need the plugins :
- Graphic plus / Cross shadow.
- Artistic,
- FM tools,
- Alien skin skin Eye candy 5 / Impact,
- AP paint (attached to the material folderl)
and the material zip down below :

******************
*It is forbidden to suppress watermarks on the material provided , to alter, mist or rename the tubes in order to respect the work of the tubers
- The tube of the boy if by Ninaisu
- Ninaisu shares her tubes here.
- The other elements that I haven't created, have been found on the net.
******************
Preparation
To be on the safe side, duplicate your tubes and image in your Psp :
-
Window / Duplicate
- Close the originals and work with the copies !
- Place the selection in the selection folder of your Psp files
*****************
Click here to print the tutorial
**********************
You can use my arrow to follow your work
Click on it and drag it all along the tutorial !

********************
1 - Open a new transparent image of 850 by 700 pixels.
2- Set your Material palette as below :
- Foreground : Light colour a9c7e9
- Background : Brighter colour 426698
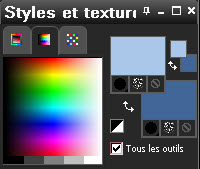
3- Flood fill your new layer with your background colour (Right click)
4- Effects / Plugins / Graphic plus / Cross shadow / default.
5- Add a new raster layer and flood fill it with your foreground colour.
6- Effects / Plugins / Graphic plus / Cross shadow / default.
7- Layers / new mask layer / From image / choose the mask "119.jpg" / tick the box Source luminance / ok
- Adjust / sharpness / Sharpen more.
- Merge Group.
8- Add a new raster layer.
- Selections / Load a selection / from disk / choose the selection "Fairymist_Bonne_nuit"/
- Tick the boxes Source luminance and Replace the selection / ok
9- Selections / modify / select the borders of the selection / set as below :

10- Set your Material palette as shown below :
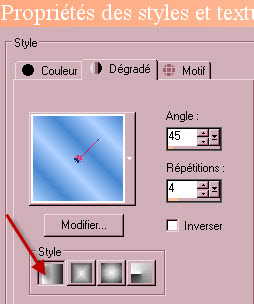
- Foreground with a sunburst gradient made with the two colours chosen on step 2
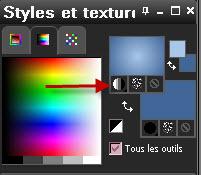
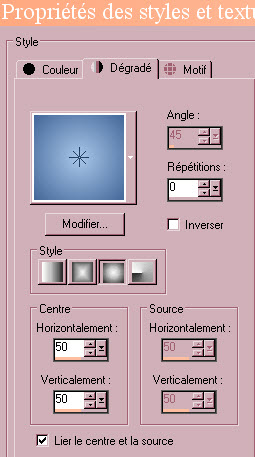
- Flood fill the selection with that gradient.
11- Effects / Plugins / Graphic plus / Cross shadow / default.
- Deselect all.
12- With your magic wand, set as below, select the inside of the oval frame.

13- Selections / modify / expand by 5 pixels
14- Activate the layer that is just underneath ( group raster 2) and hit the delete key of your keyboard.
15- Keep selection.
- Go back to the layer on top of the pile.
- Layers / Merge down.
16- Add a new raster layer.
17- Open your scenery image or mine : "Img natal 39"
- Copy it.
18- On your tag : Paste it in the selection.
- Deselect all.
19- Layers / arrange / move down (Your image is now underneath your frame)
20- Remain on the scenery layer.
- Effects / Plugins / Artistic / Dry brush / 2, 8, 1
21-Set the mode of that layer on to Luminance Legacy.
- Lower its opacity at 70.
22- Effects / Plugins / FM tools / Blend emboss default (do it once or twice)
23- Activate your top layer (the one with the frame).
- Effects / 3d effects / drop shadow / 1, 1, 100, 2, blue 426698
- Merge all.
24- Repeat steps 8 and 9.
25- Set your Material palette with a linear gradient in foreground as shown below
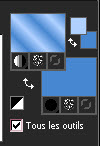
- Foreground : b0d1ff,
- Background : 4787d1)
- Flood fill the selection with that gradient.
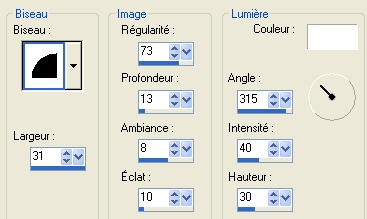
26- Effects / 3d effects / Inner bevel as below :
27- Effects / 3d effects / drop shadow / 4, 4, 50, 5, White then repeat with - 4 vert and horiz
- Deselect all.
28- Open your main tube (Ninaisu's tube for me) and copy it.
- If you use my tube, activate and use your eraser tool to get rid of the black insect that is on the tube.
- Paste that tube as a new layer on to your tag.
- Place it at the right place.
29- Effects / Plugins / Alien skin Eye candy 5 / impact / perspective shadow / drop shadow blurry as below :

30- Image / add some symmetrical borders of 2 pixels in white.
31- Image / add some symmetrical borders of 40 pixels with a contrasting colour.
32- With your magic wand set as on step 12, select your 40 pixels width border and flood fill it with the same gradient as on step 25
33- Effects / Plugins / Graphic plus / Cross shadow / default.
34- Effects / Plugin of your choice !
( I have used the filter AP paint / windblast / 50, 0 )
35- Selections / invert.
36- Effects / Plugins / Alien skin Eye candy 5 / impact / perspective shadow / drop shadow blurry as on step 29
Deselect all.
37- Image / add some symmetrical borders of 2 pixels in white.
38- Apply your signature
39- Merge all and save your work as a jpeg file.
****************
That's it !! You've done it !!
If you 've enjoyed doing my tutorial, it would be nice to write a few words in my guest book !
If you 've had the slightest problem, please, send me a mail so I can see to the problem
Tutorial translated on the 27th of december 2013
************
You'll find some versions of that tag in my gallery here
